Embark on an immersive adventure as we delve into the captivating mysteries of ‘The Lament’—a Remnant 2 Side Dungeon intricately woven to immortalize a noble’s love story. Prepare to navigate treacherous traps and solve enigmatic puzzles while seeking the cherished treasures that lie within. Uncover the secrets of arrow-laden corridors, burial chamber puzzles, floating pillars, and more, as we unravel the layers of this intricate labyrinth. Join us in this journey through shifting realms, from the Labyrinth’s mysterious landscapes to the depths of Root Earth, as we confront Annihilation and bring closure to Remnant 2’s climactic narrative.
Exploring The Lament: A Story of Traps and Treasures
The Enigma of The Lament: A Side Dungeon in Remnant 2
Dive into the mystique of The Lament, a Remnant 2 Side Dungeon crafted to immortalize the love story of a noble from Yaesha. Within these cryptic depths, prepare to navigate intricate traps and unravel enigmatic puzzles, all while seeking the cherished treasures bestowed upon the queen by her beloved.
The Dance of Instant Kill Arrows
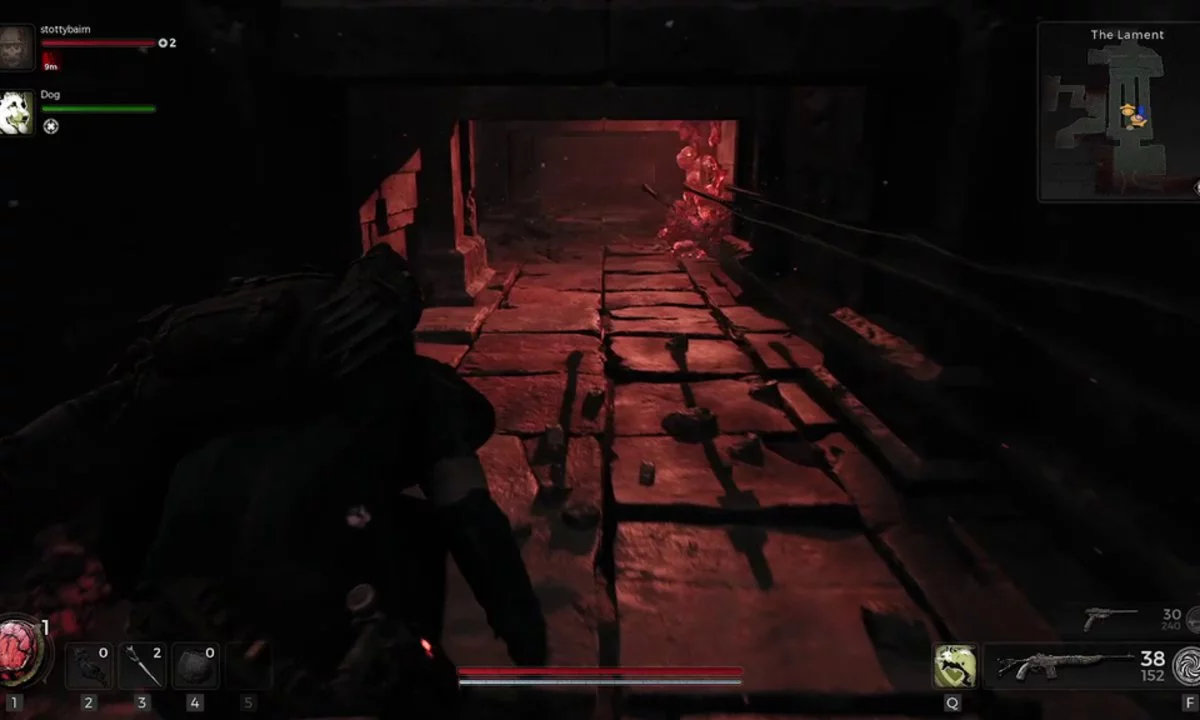
Commencing your journey through The Lament, brace yourself for a trial of instant-kill arrows emerging from the very walls that encompass you.
Encounter One: The initial hallway challenges your wit as arrows converge from both flanks. A cautious crouch grants you safe passage. Along the way, a stone block beckons for a vault—on the other side lies a floor trigger halting the arrows, an invaluable boon for co-op adventurers.
Encounter Two: Progressing to the second hall, arrows rain down anew. Sideways dodges pave the way through this volley. However, beware the treacherous floor trap that spews rapid arrows from your point of entry—hug one side of the path to evade.
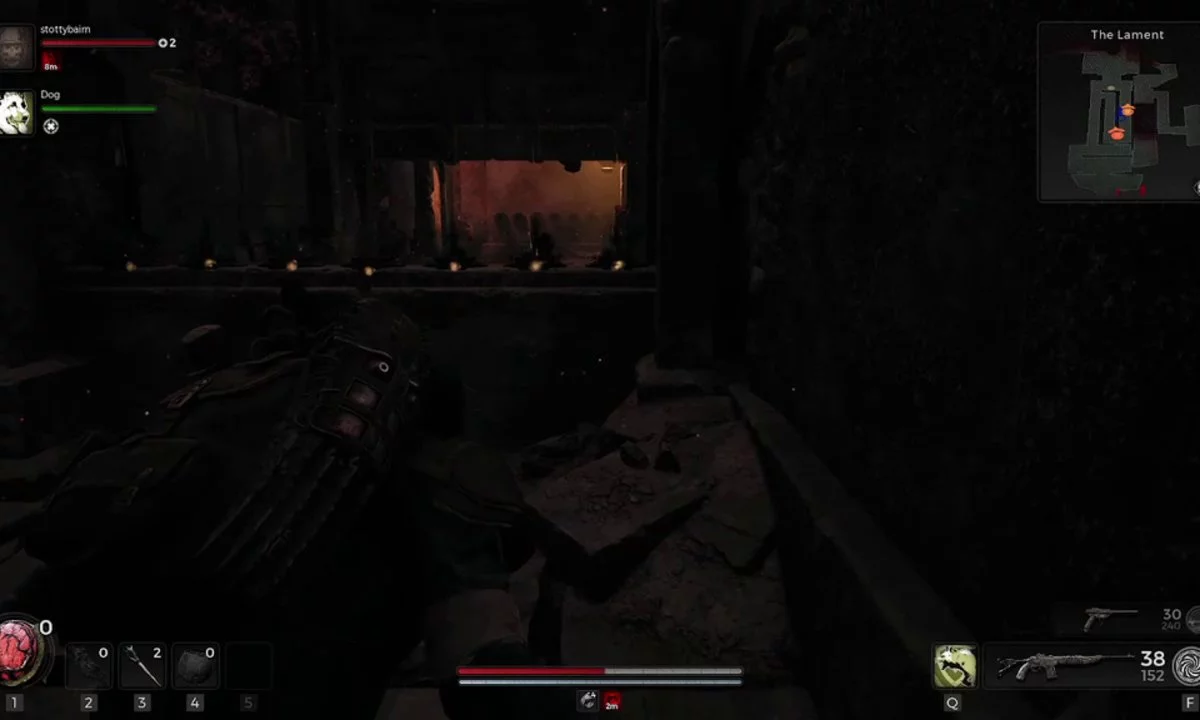
Encounter Three: The final arrow-laden passage echoes with familiar threats. Dual arrow showers persist, accompanied by stone blocks intermittently releasing vertical volleys. Navigate cautiously, aware of traps following each stone block.
Related: Remnant 2 Guide – Exploring the Enchanting Secrets of Yaesha
Emerging unscathed, a resource chest and lever await your grasp, signifying passage to the next chapter of your journey.
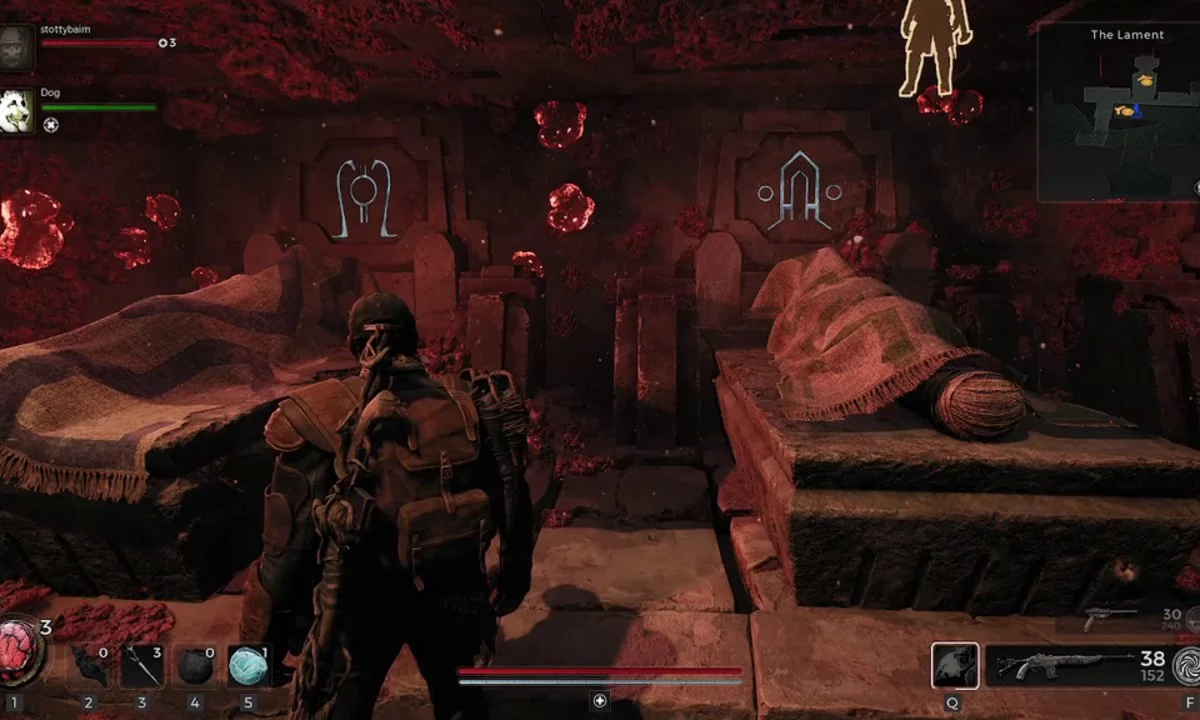
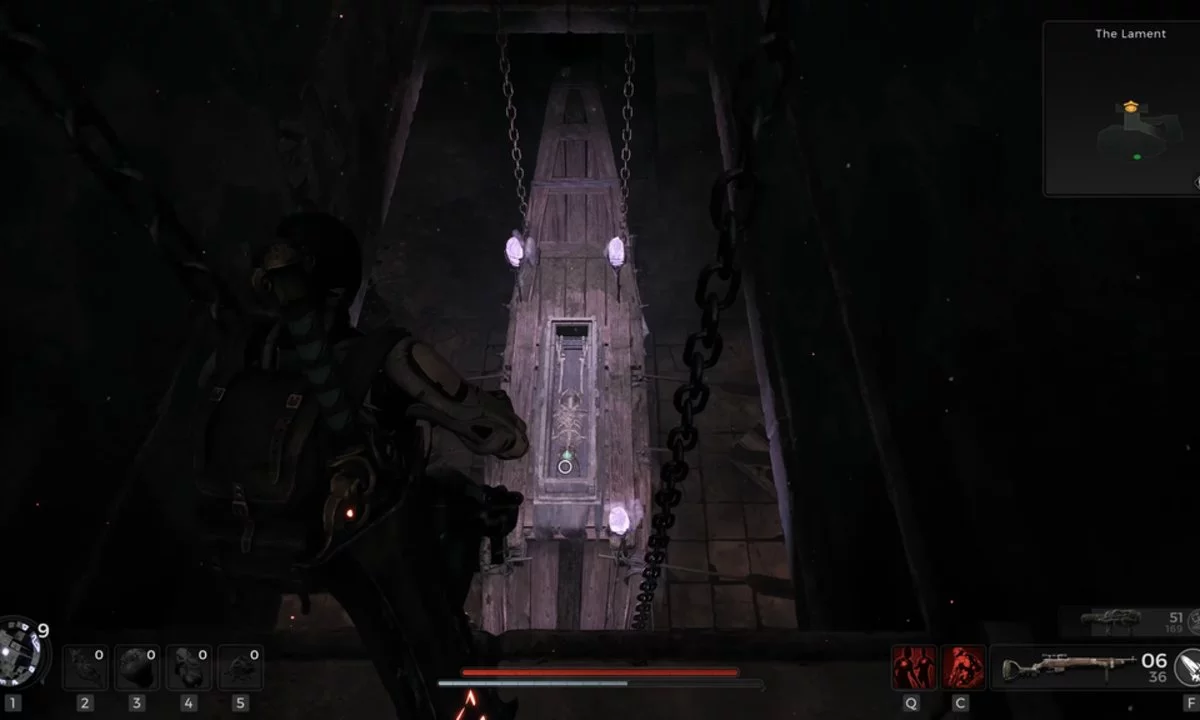
Unveiling the Secrets of the Burial Chamber Puzzle
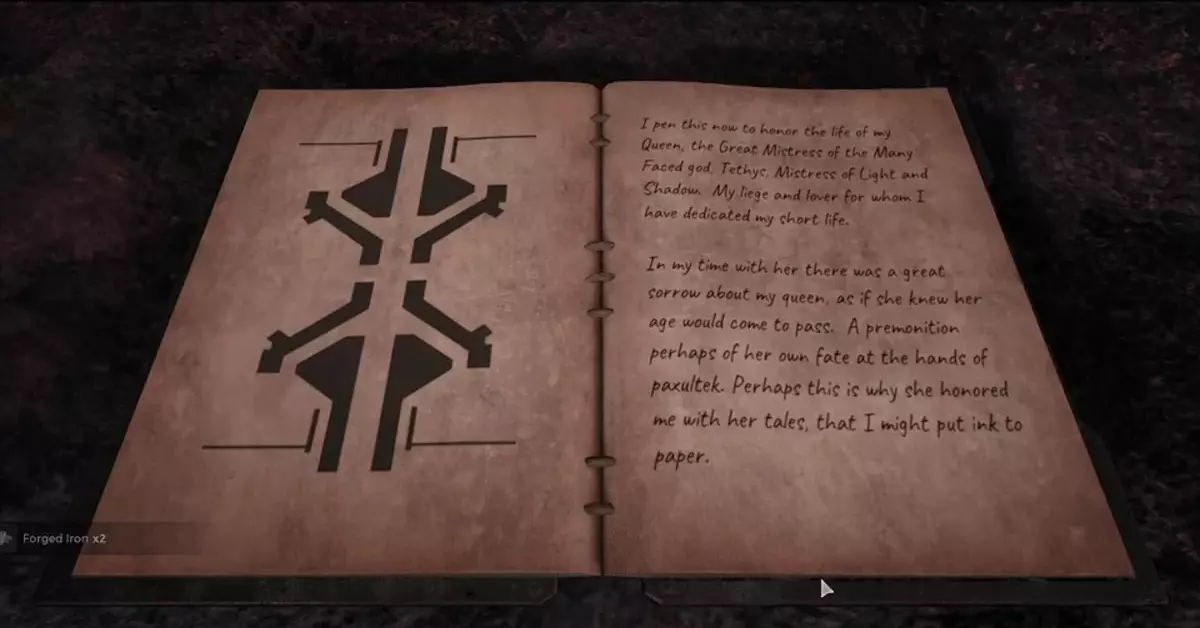
Emerging from the gauntlet of arrows, a diary presents itself, its pages adorned with a mysterious symbol. Delve within, for the subsequent verses hold the key. Each page bestows insight into sigils—unearth their names and sequence, for they shall unlock the chamber’s core.
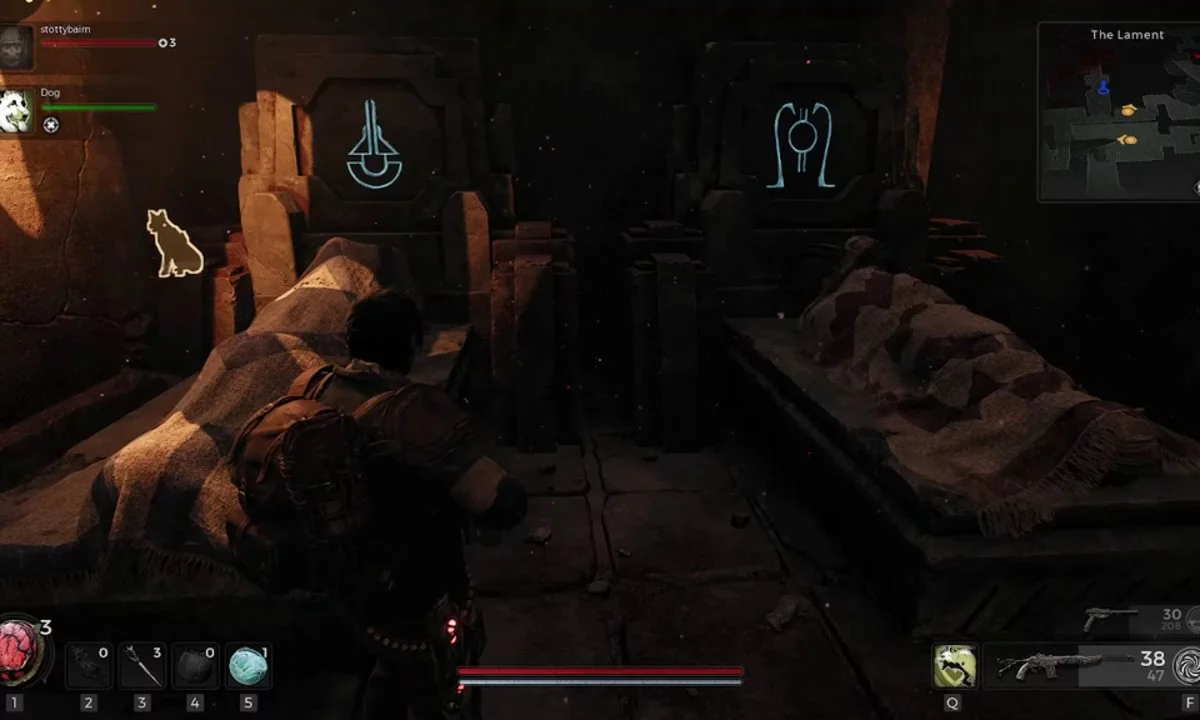
A Compelling Sequence: Attend to the sigils’ order as narrated in the poems. The etchings guide your entrance to the lock’s embrace.
Seeking Symbols: Seek the deceased adorned with the first symbol—note the sigil aligned above. Prepare to decipher these symbols within the lock’s embrace.
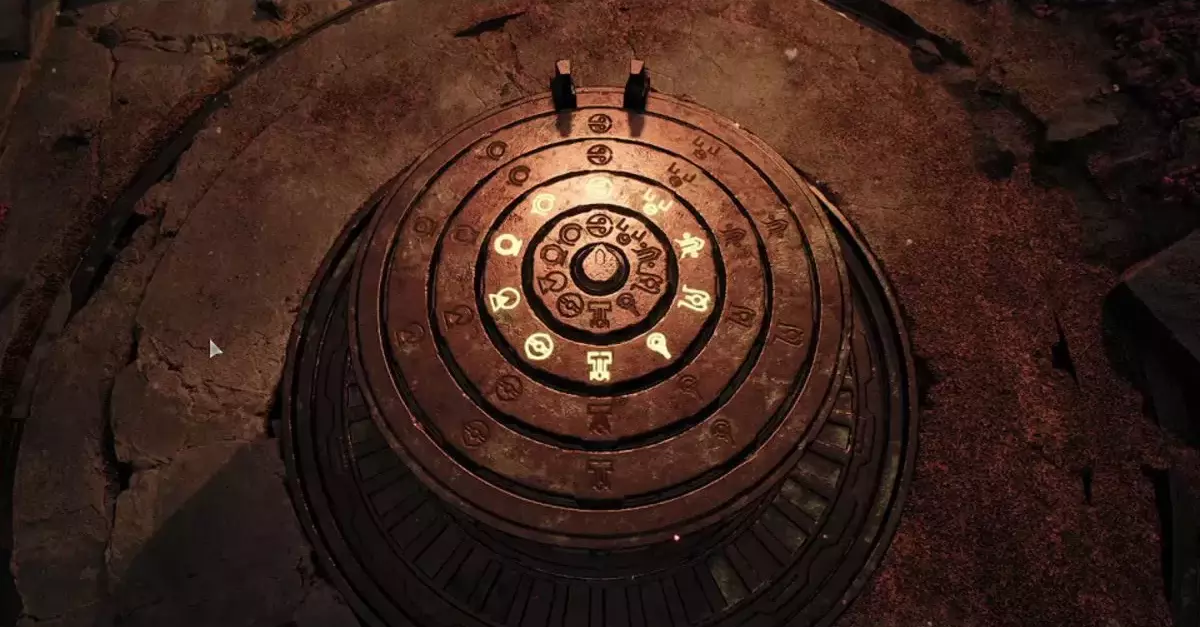
Embrace the Order: Align, from entrance to center: top right, bottom right, bottom left—unraveling the layers of the lock’s core.
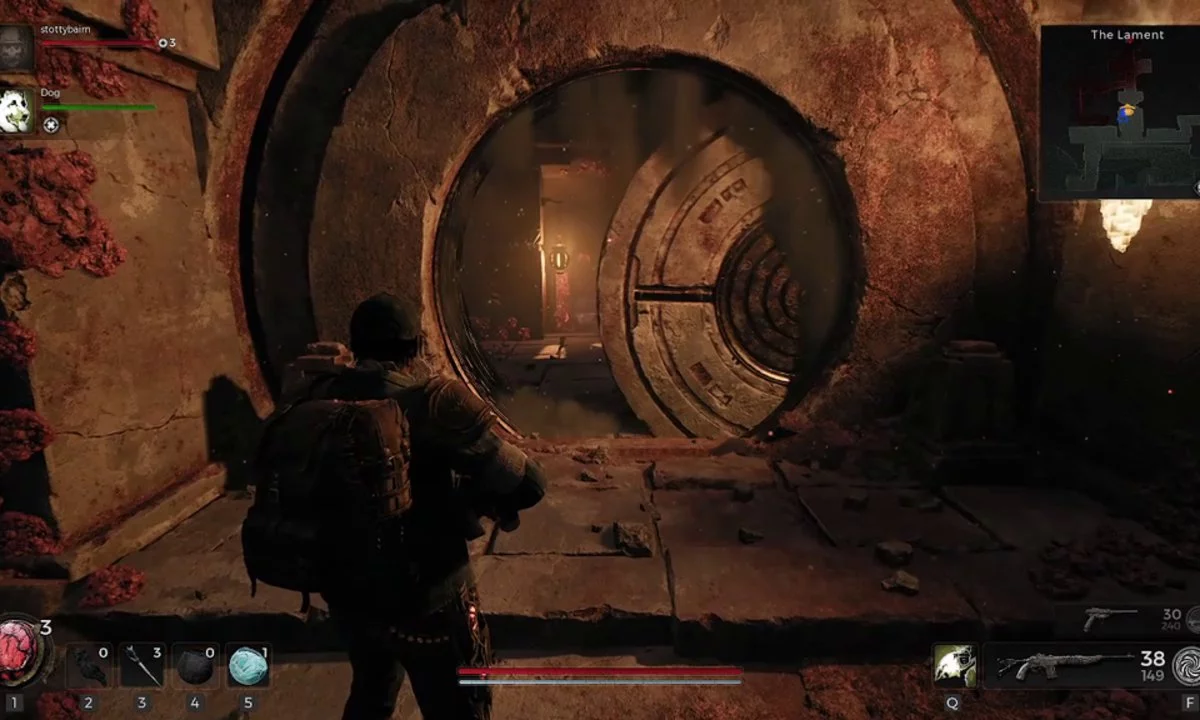
Journey onward, yet pause ere you venture forth, for the floating pillar puzzle craves your attention.
The Puzzle of Floating Pillars
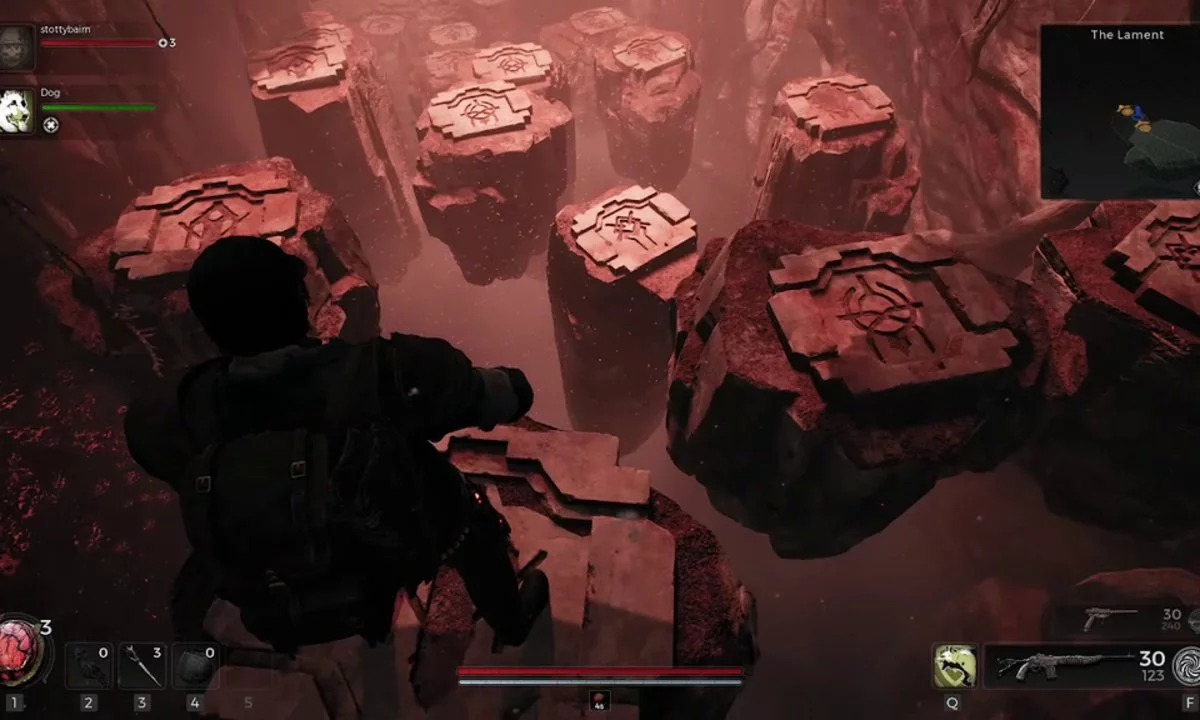
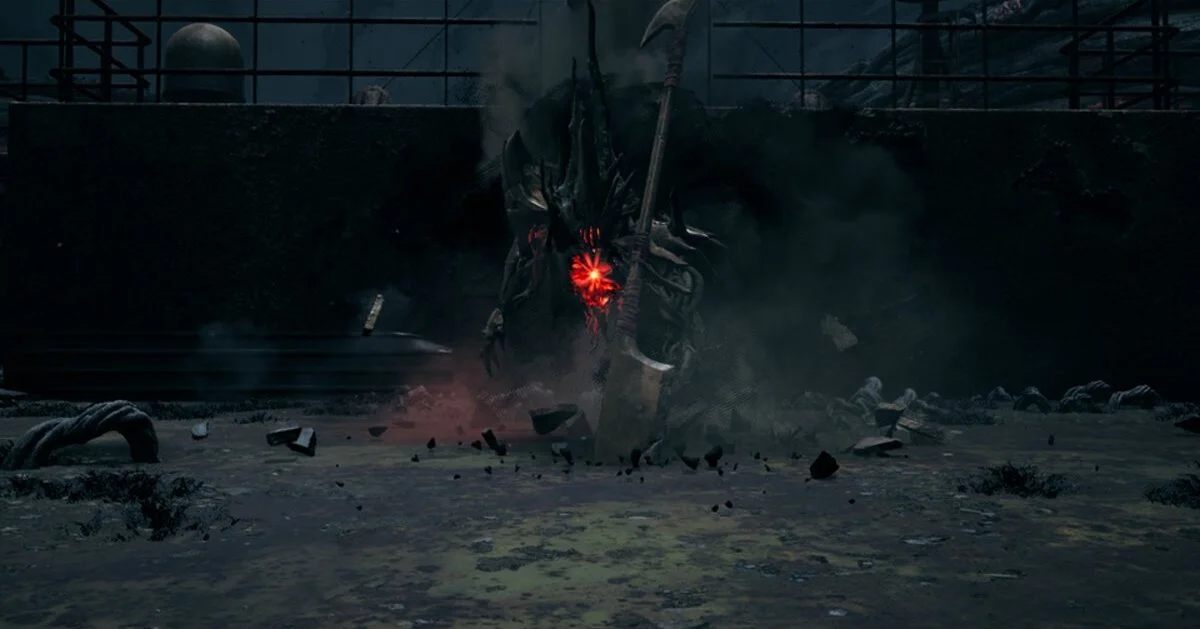
Among The Lament’s secrets, the sarcophagi reveal a fierce Root Slasher Abberation—Wither. Conquer this adversary to receive the prized Kolket’s Razor.
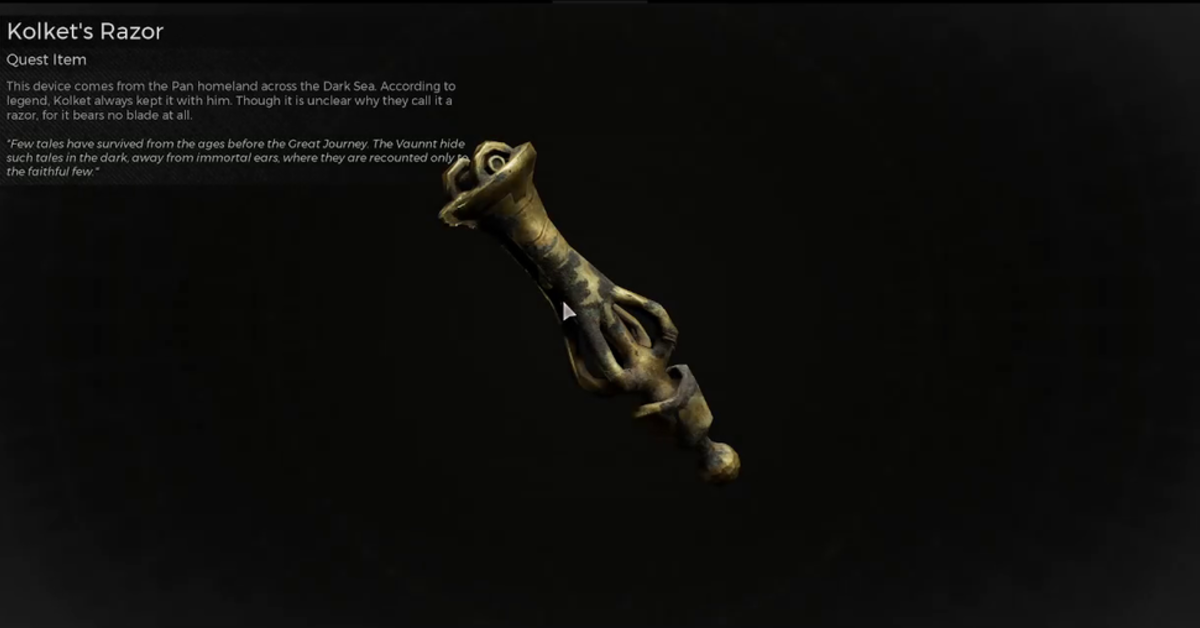
This razor—bearer of latent potential—beckons at a distant door, atop the floating pillars. Leaping upon them yields naught, but a carved symbol marks the path—follow its trail to traverse the invisible bridges.
The time comes to wield Kolket’s Razor, transmuting it into Kolket’s Key. Unlock the door beyond, a trove of treasures awaiting your eager grasp.
Before departure, heed the illusory wall’s call—meandering through passages, uncovering the Lodestone Crown, a hidden gem in The Lament’s embrace.
The Splendor of Red Widow Armor

Survey the balcony beyond the World Shard’s glow, glimpsing the Red Widow’s final resting place below. Return to the World Shard’s hall, toppling pots in a hidden corner, revealing a clandestine path.
Descend the concealed passage, a journey leading to the Supply Room Key—your passage to the treasure chamber. Ascend to the hall’s end, employ the key, and explore the riches concealed within.
An imposing spinning blade puzzle lies ahead, harboring trepidation. Traverse with precision, aligning with vertical blades as they appear. Peripheral distractions offer naught but discord—persevere through alternating lanes, reaching the finish unscathed.
Related: Remnant 2 Guide – Prologue, Ward 13, and N’Erud’s Cosmic Odyssey
Behold the reward room—the Red Widow Set, a medium armor endowed with exceptional Blight and Bleed resistance. The legacy of The Lament’s trials and treasures beckon to embrace the bold-hearted adventurer.
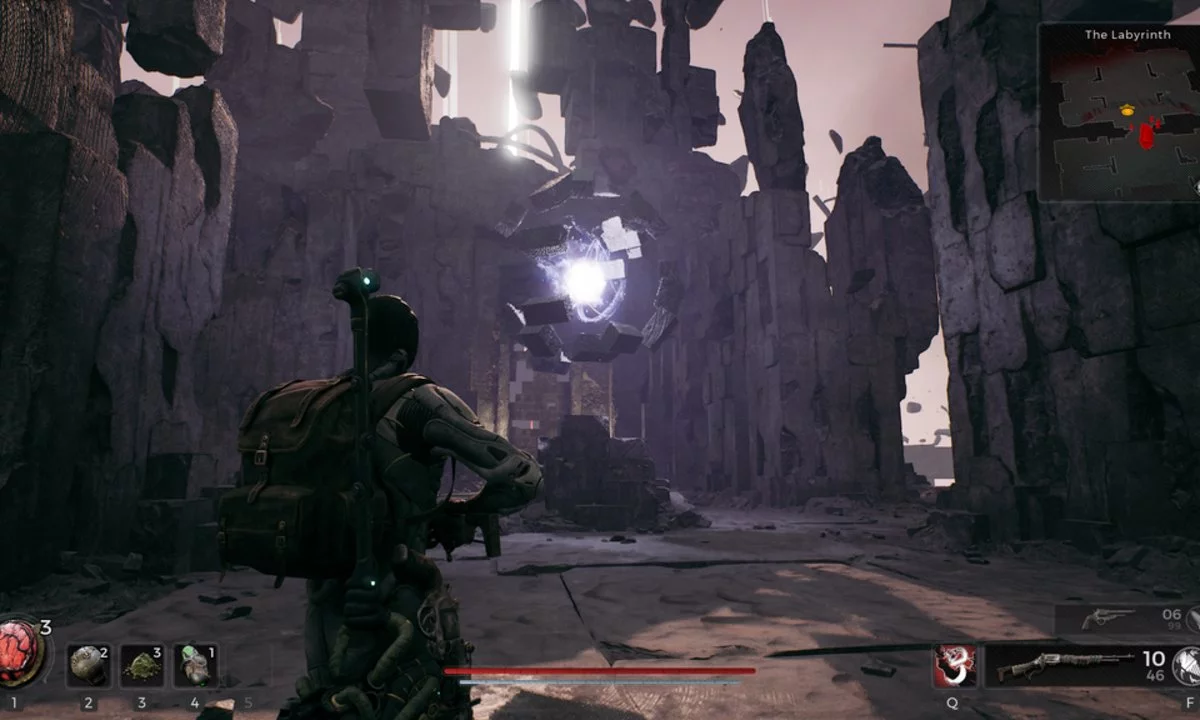
Navigating the Enigmatic Labyrinth: A Tale of Shifting Realms
Enter the Labyrinth: A Realm in Flux
Embark on a journey into the desolate enigma known as The Labyrinth—a bridge connecting realms within Remnant 2. Having lost its Guardian, this realm wrestles to expel the Root’s grasp. Once a bastion of equilibrium, The Labyrinth now crumbles internally, triggering cataclysmic ripples across neighboring worlds.
The Labyrinth’s Unique Landscape
In contrast to Remnant 2’s primary worlds, The Labyrinth stands as an immutable expanse—its events, layout, and aims resolute, unfazed by the tide of playthroughs. Yet, hinging on your game progression, the sequence of the world before and after The Labyrinth remains capricious.

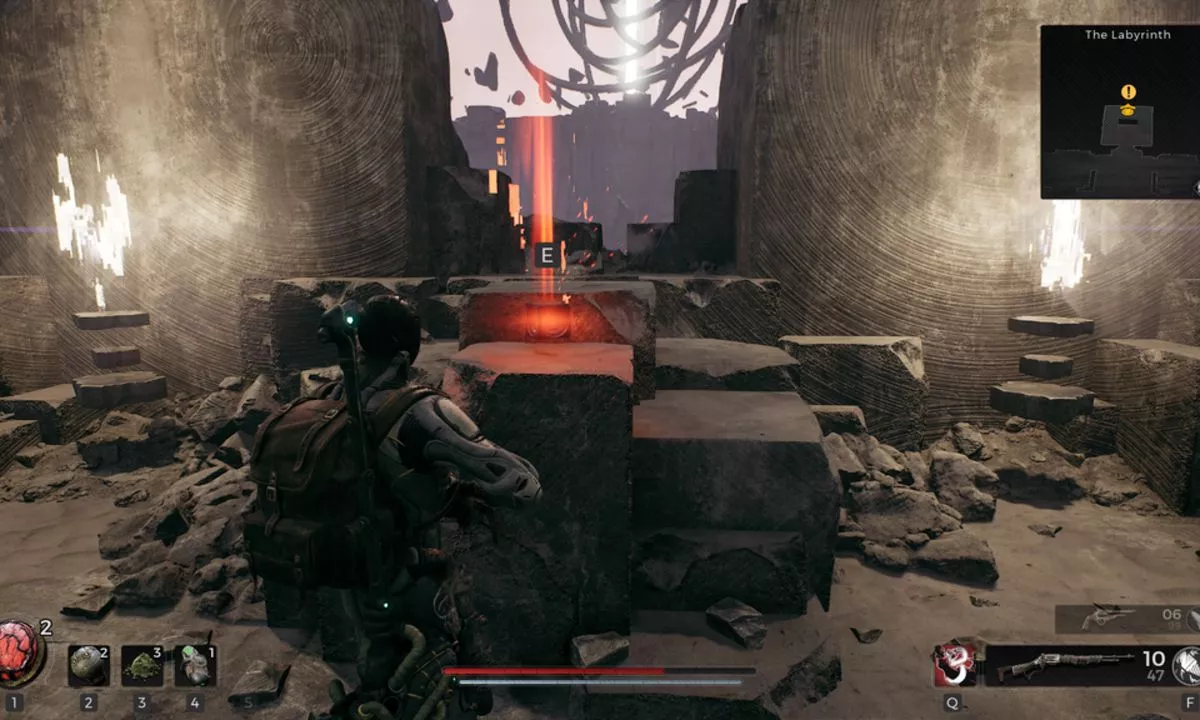
Upon your Labyrinth entry, an imposing stone pedestal commands the central chamber’s attention—an artifact of import, the Master Portal Key, awaits discovery within these labyrinthine confines.
Unraveling Secrets Amidst Challenge
Two World Stones, nestled within the Fractured Ingress and the Entangled Gauntlet, await your encounter. These domains harbor treasures—rings, amulets, and a Relic Heart. A clandestine trove lies beneath a staircase in the Fractured Ingress.
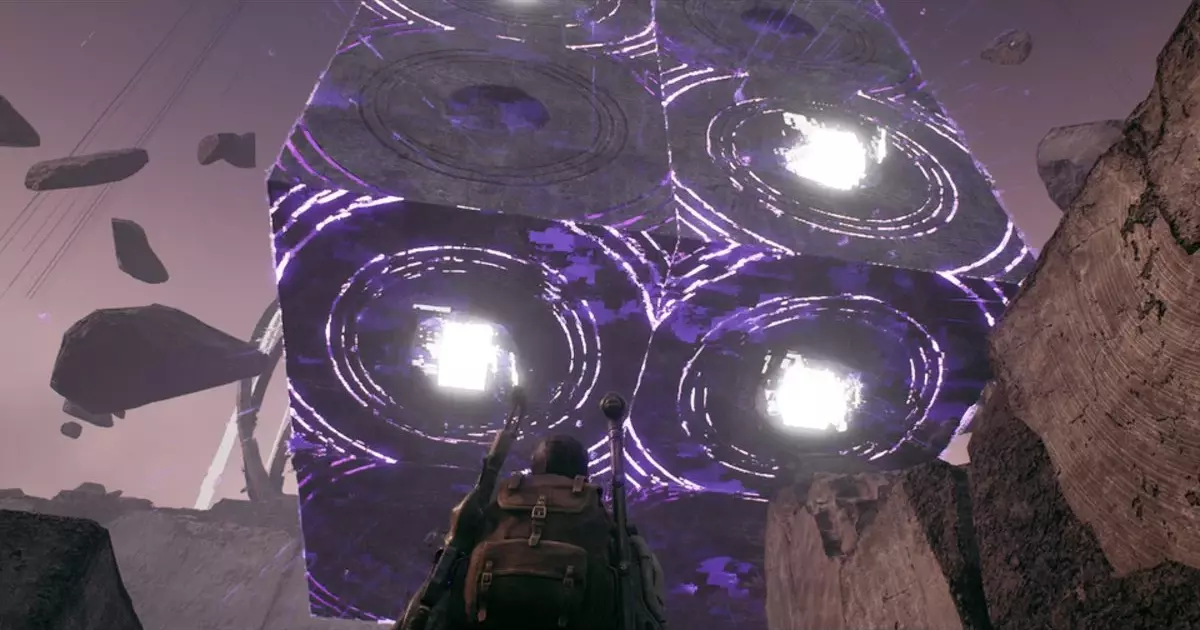
Behold the unique portal within the Entangled Gauntlet—a fickle gate, changing destinations every five seconds. Seize the opportune moment to leap into the fray when an inert World Stone emerges on the opposite side. Your destination: the Colosseum of Ruin, sanctuary of the Master Portal Key.
Caution is your ally—crumbling floors endanger your landing, urging swift transition to the opposite platform upon teleportation.
Within the Colosseum’s embrace, trigger a wave battle by targeting the luminous orb. Endure successive waves, each housing stone constructs. The adversary evolves, with each wave dominated by:
- 1st Wave: Energy Orb
- 2nd Wave: 4x Sword Constructs
- 3rd Wave: 3x Slab Constructs
- Final Wave: Elite Golem
Emerging victorious, claim the Master Portal Key and return to the Fractured Ingress. Behold the colossal portal, a gateway to new horizons.
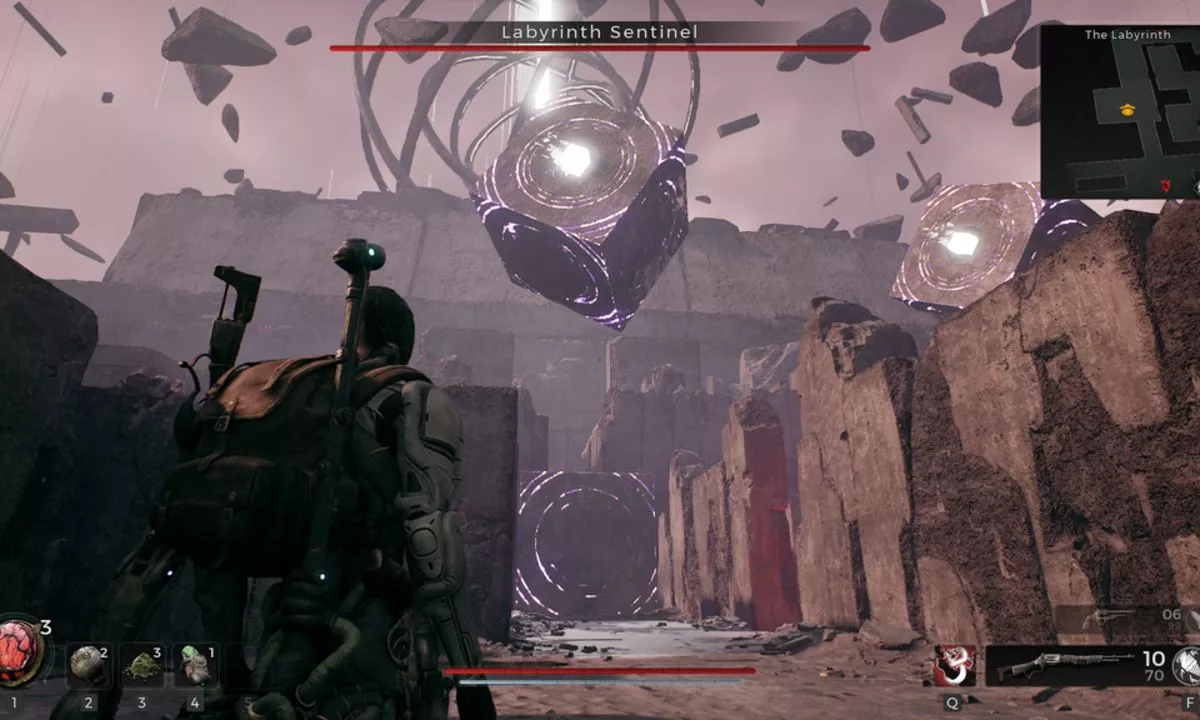
Transcending the Labyrinth Sentinel
The Labyrinth Sentinel beckons—a confrontation adorned with simplicity, yet not bereft of peril. Heed the pattern of ground cubes, each strike harboring a lethal fate.
Shatter the sentinel’s core—its radiant core and skyward cubes. The crux lies within the narrow entrances, a haven from descending cubes, a vantage to assail others.
A soft glow heralds the cube’s demise, inviting full frontal assault.
Shelter under a fallen cube, its shattered core rendering it harmless.
A Unique Prize: Unveil the Conflux Prism = Cube Gun, a reward like no other.
With the Sentinel vanquished, forge onward until you reunite with Clementine and The Keeper. Brandishing the Biome Portal Key, unlock latent potential at the Fractured Ingress. The portals’ paths extend before you—opening a world of possibility. Trace the echoes of destiny, wielding the Biome Portal Key to unveil the realms concealed beyond.
In your quest’s culmination, mysteries unfurl, and destinies converge, laying the foundation for Remnant 2’s final chapter: Root Earth.
Confronting the Abyss: Root Earth’s Conquest
Root Earth: The Echoes of Annihilation
Venture into the realm of Root Earth—a corrupted twin of our own, consumed by the relentless grasp of the Root. This haunting realm marks the final chapter in Remnant 2, serving as the nexus of the Root’s malevolent origins, personified by a dread entity called Annihilation.
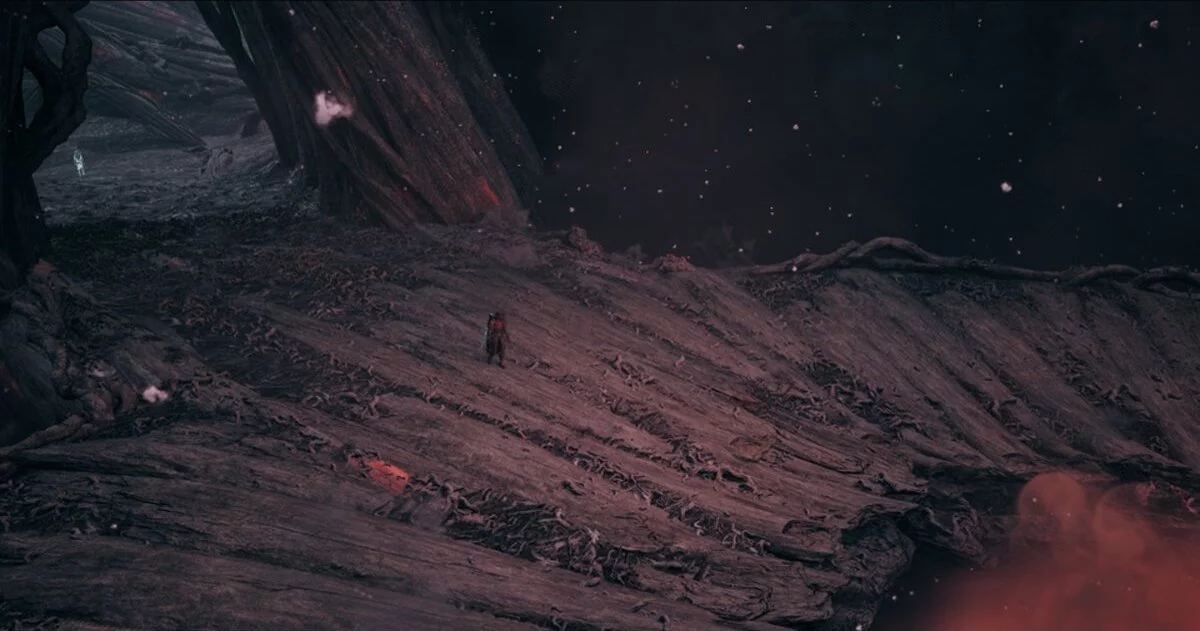
Traverse the Ashen Wasteland
Upon arrival, navigate the Ashen Wasteland—a grim mirror of Earth’s former glory. Embark down the structure using an immense root, descending onto the highway. Battle through opposition as you forge ahead, clearing enemies before veering left.
Related: Remnant 2’s Losomn – Your Ultimate Guide to its Mysterious World
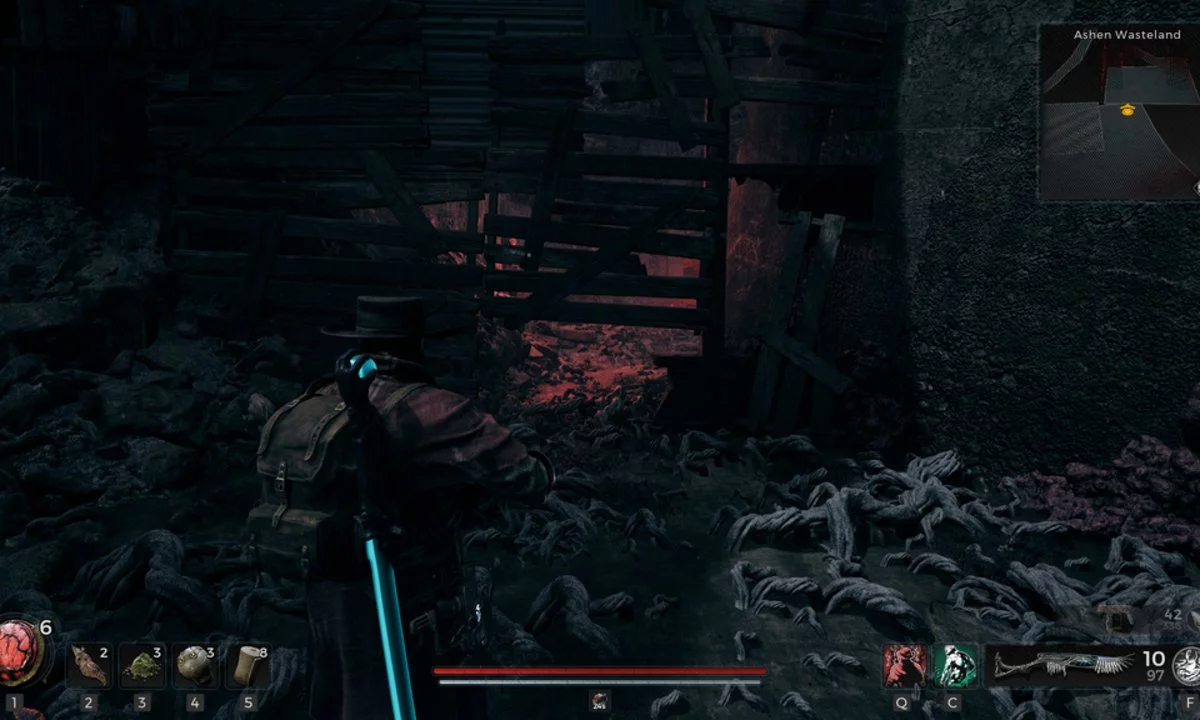
Amidst the desolation, you’ll find a concealed entrance—a decayed building housing valuable treasures:
Reaping Stone (Ring): Reach the ring by leaping across platforms, then plummeting down a hole.

Steel Katana (Melee Weapon) & Dendroid Set (Armor): Skip the plunge down the hole; instead, access a platform, leap to the column, and scout outside for your prize.
At a crater near a truck, a massive root stretches toward the highway. Ascend it and descend to its cargo-filled base, where you’ll uncover the Hellfire (Handgun) beside rubble.

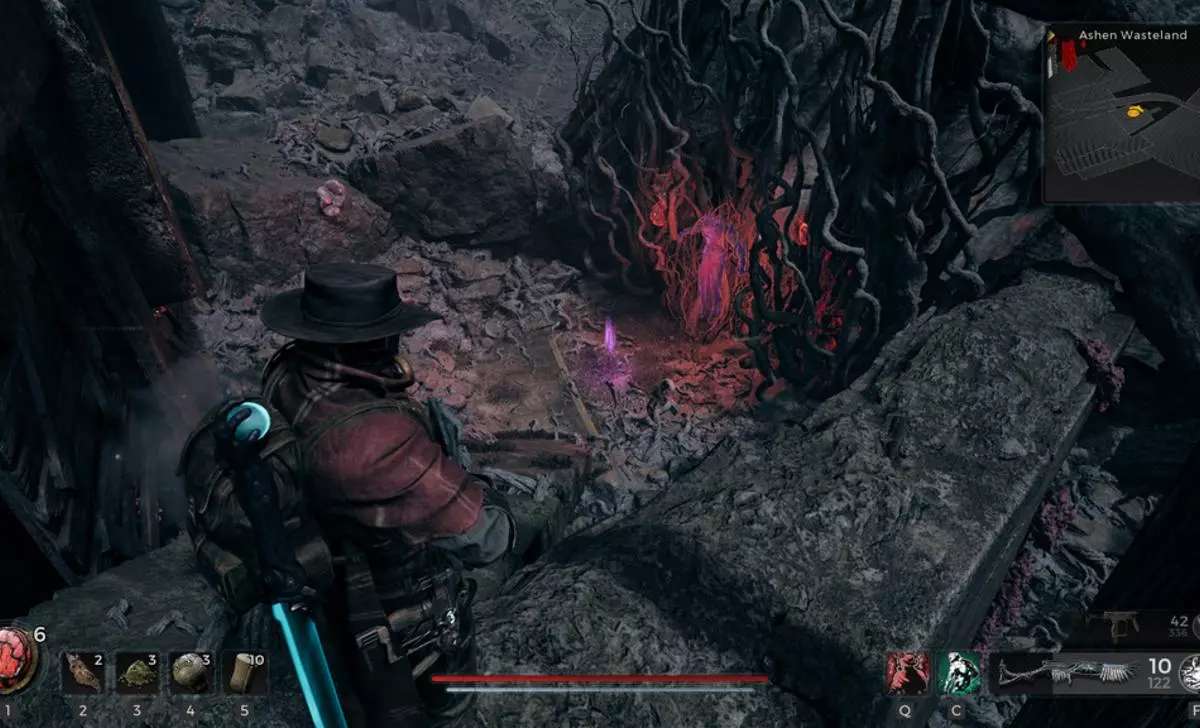
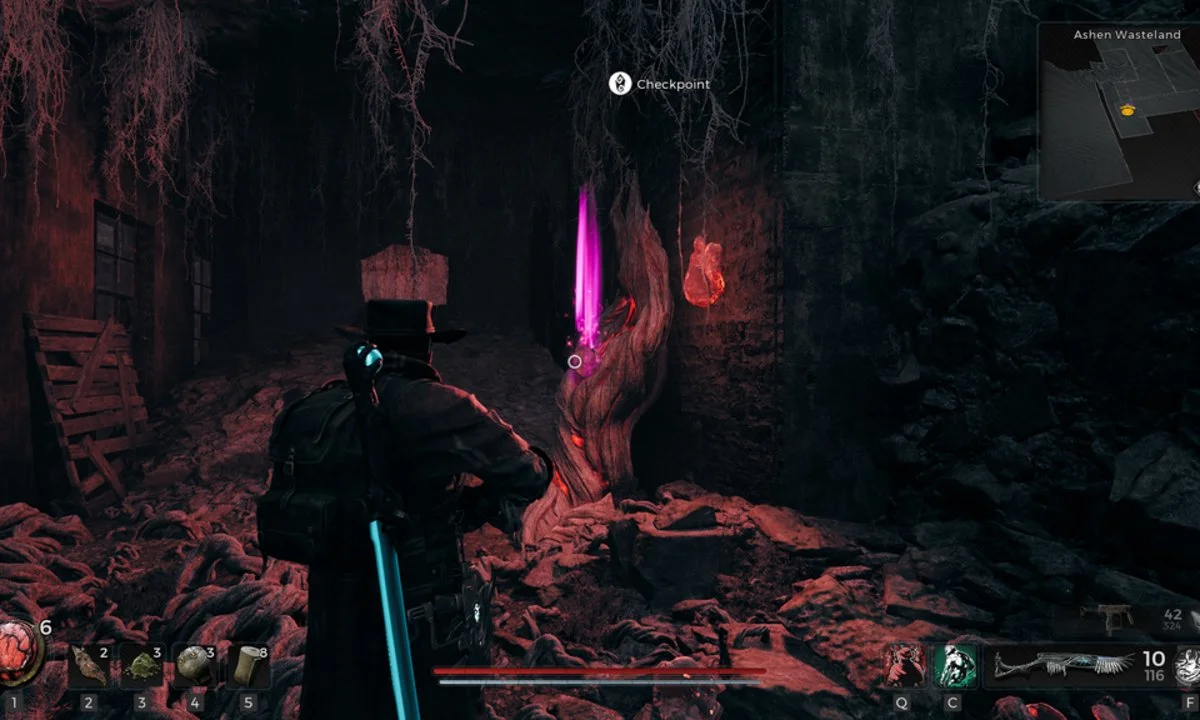
Continue your odyssey until encountering the initial World Shard. At this point, seize the opportunity to collect the Resonating Heart (Relic) secreted below a room’s floor hole.
Persevere through challenges, retrieving treasures like the Zania’s Malice (Ring) within concealed crannies.

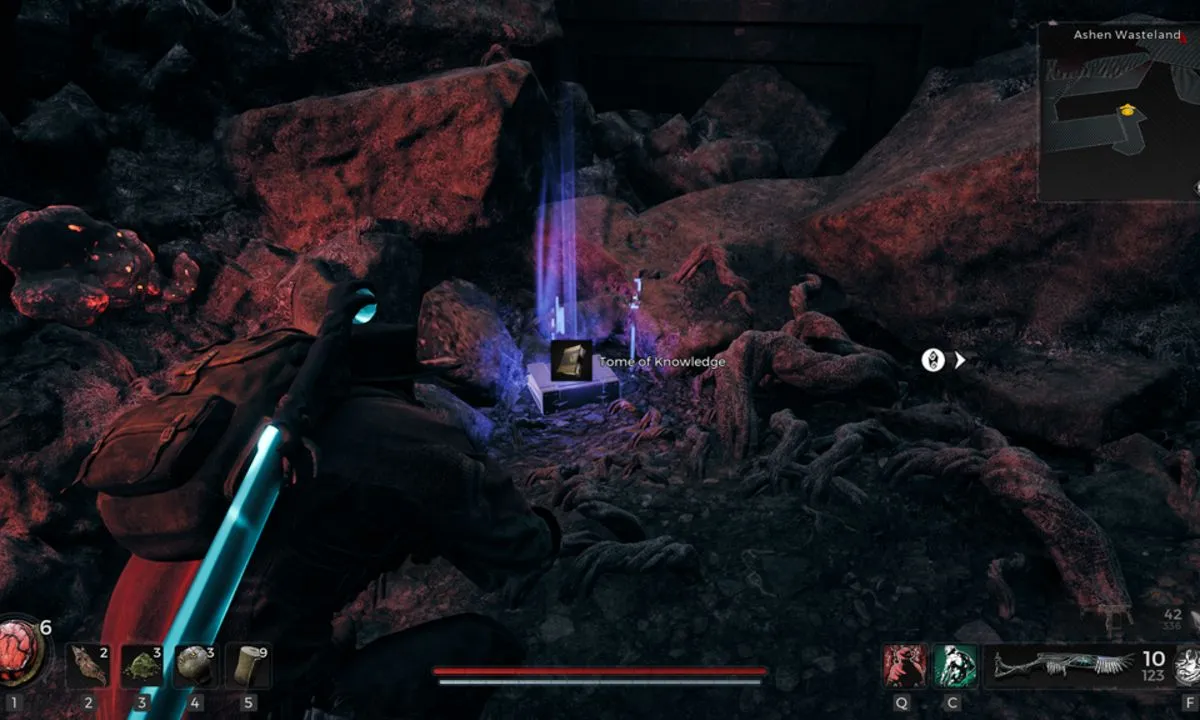
Embarking on the path of destiny, surmount a fog door while claiming Tome of Knowledge en route. Savor the spoils and unravel secrets as you proceed, braving waves of Root enemies. Triumph over these foes, reaping the Handling trait as your reward.
Amidst the tumult, you’ll discover the Haymaker’s Ring tucked within an open train cargo. Procure the Ankh of Power (Amulet), concealed behind a room in a sewer, and further unveil the Dying Ember (Ring) within a maintenance chamber.

Journey toward the precipice, capturing the third World Shard before an encounter with the formidable Cancer.
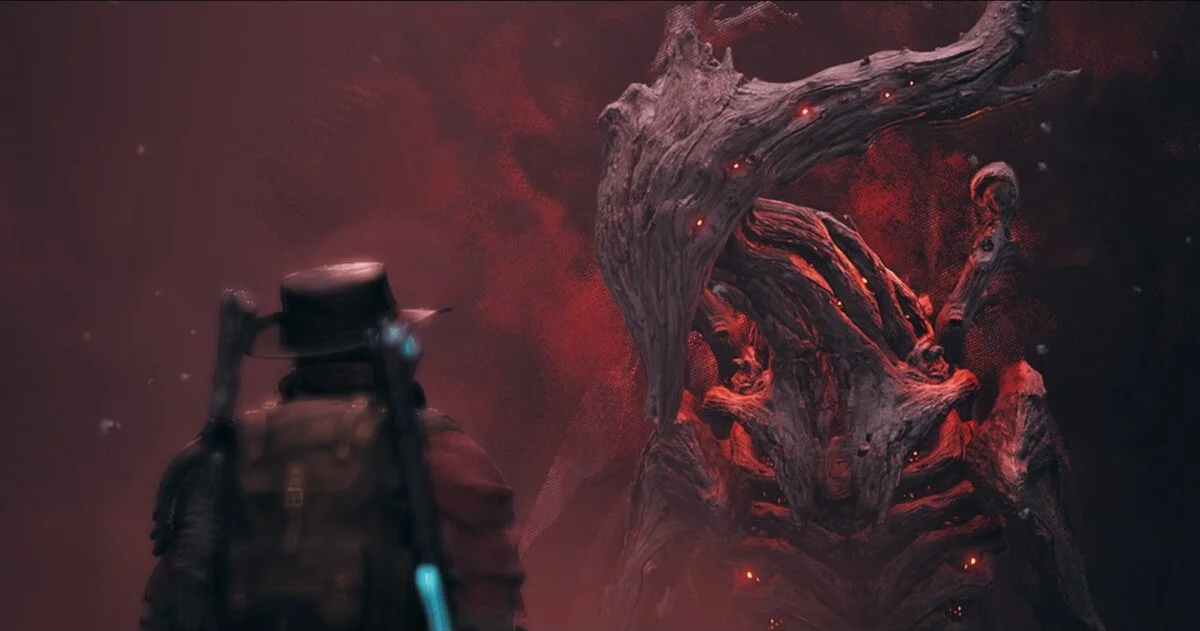
Confrontation with Cancer
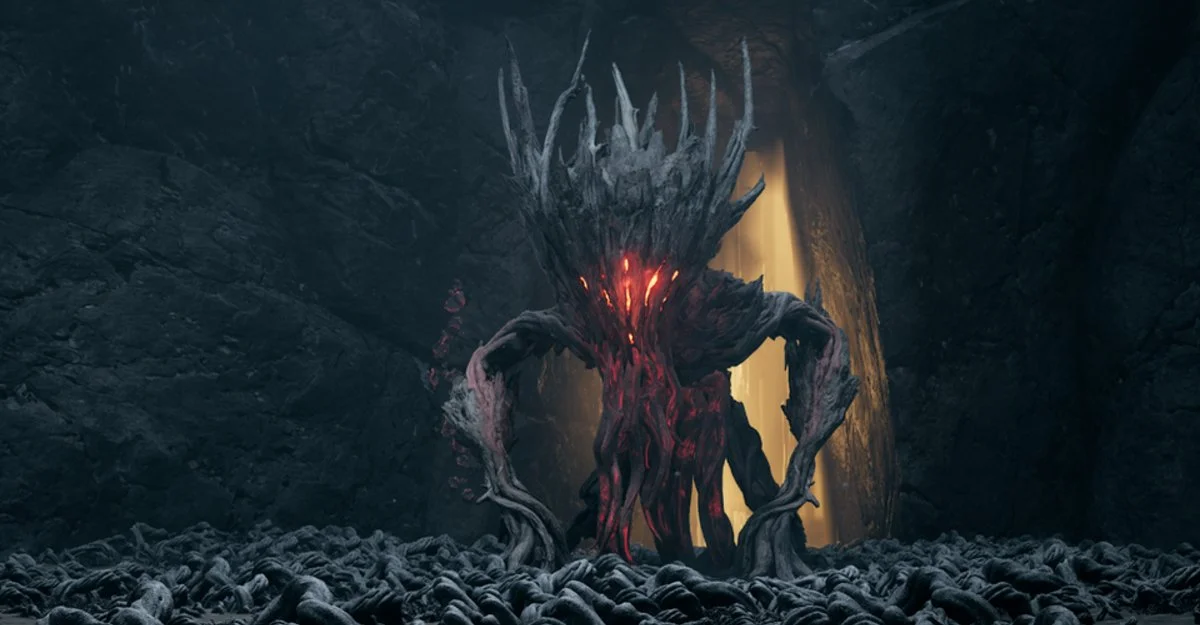
Stand your ground against Cancer—a Root behemoth embodying primal aggression. Dodge its potent melee onslaught and exploit its vulnerable back for optimal damage. Survive a dance of aggression, executing strikes during opportune moments.
Navigating the Corrupted Harbor
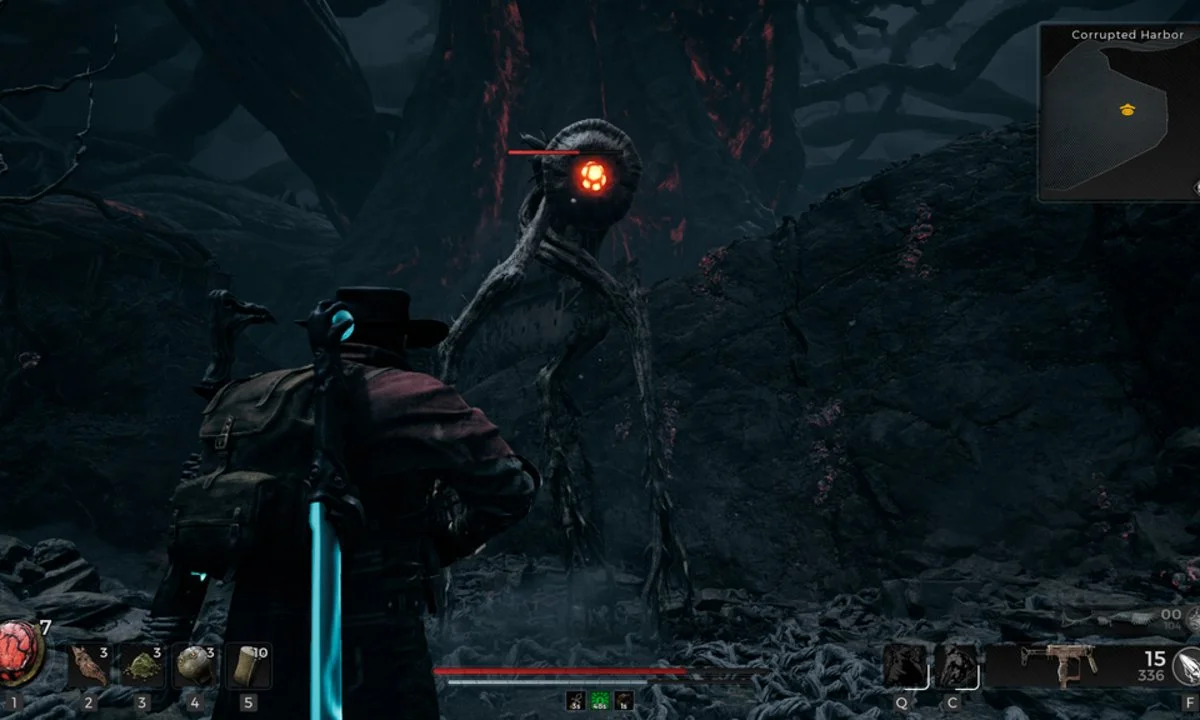
Emerging victorious, traverse the Corrupted Harbor—a realm resonating with ominous forces. Engage formidable Root Walkers and combat the formidable Root Shade. Scout each nook for hidden rewards, such as the Escalation Protocol (Amulet).
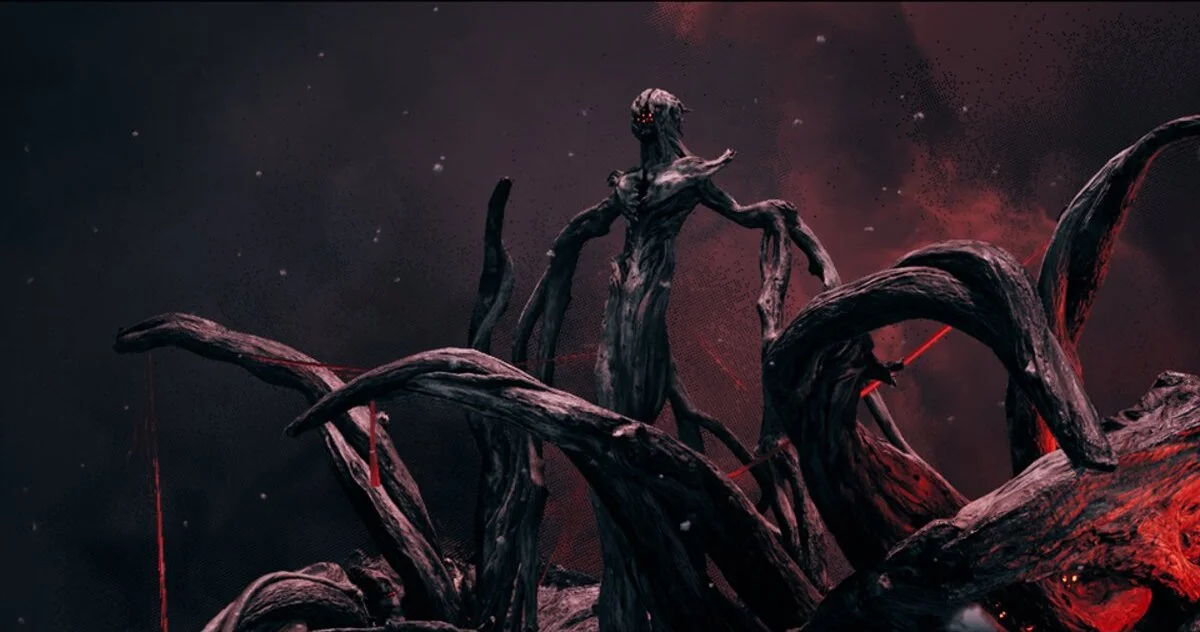
Tangle with Venom
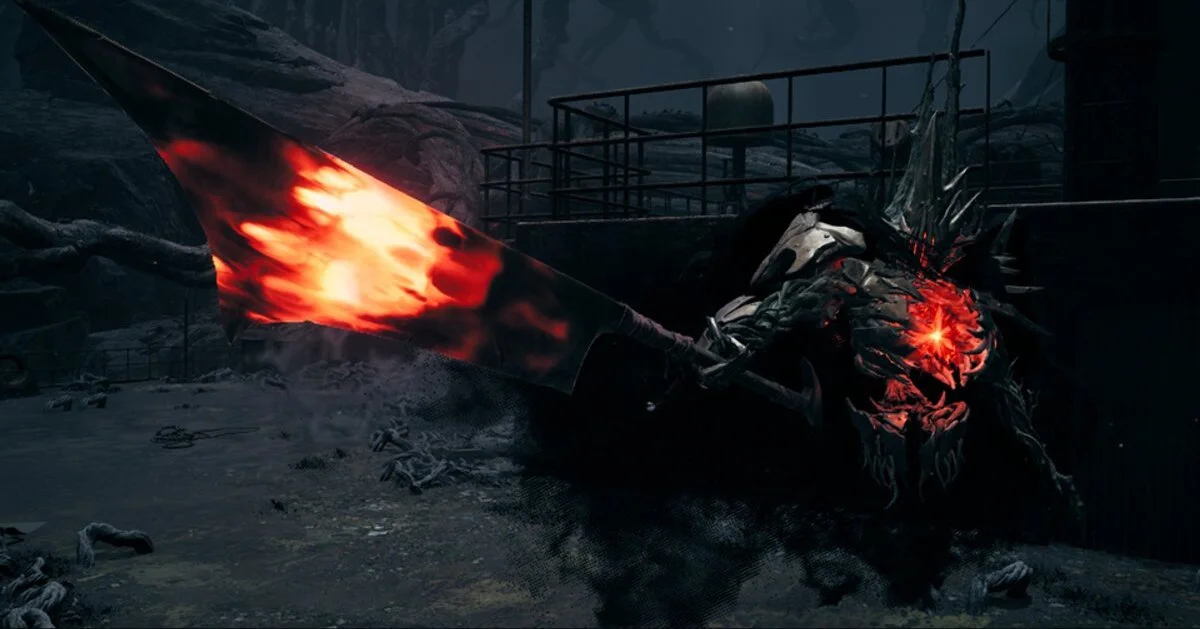
Brace yourself for Venom’s onslaught—a battle that demands precision and persistence. Dodge his agile moves and retaliate, targeting his core and exploiting brief openings. Triumph over his lethal barrage to earn the Dread Core—a unique spoil of victory.
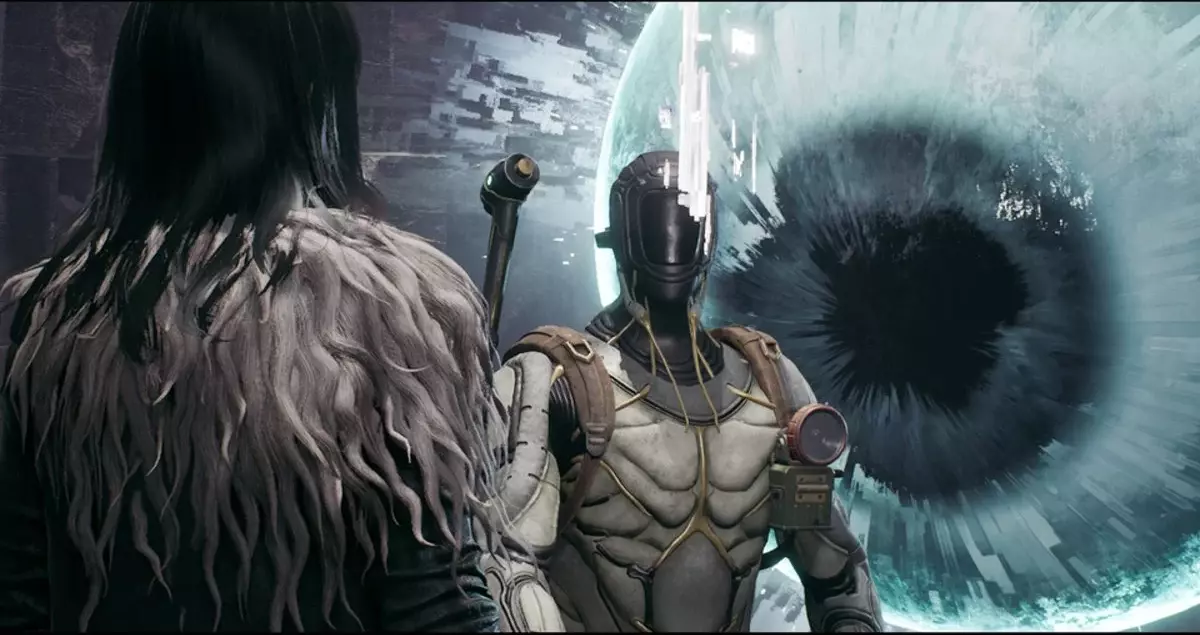
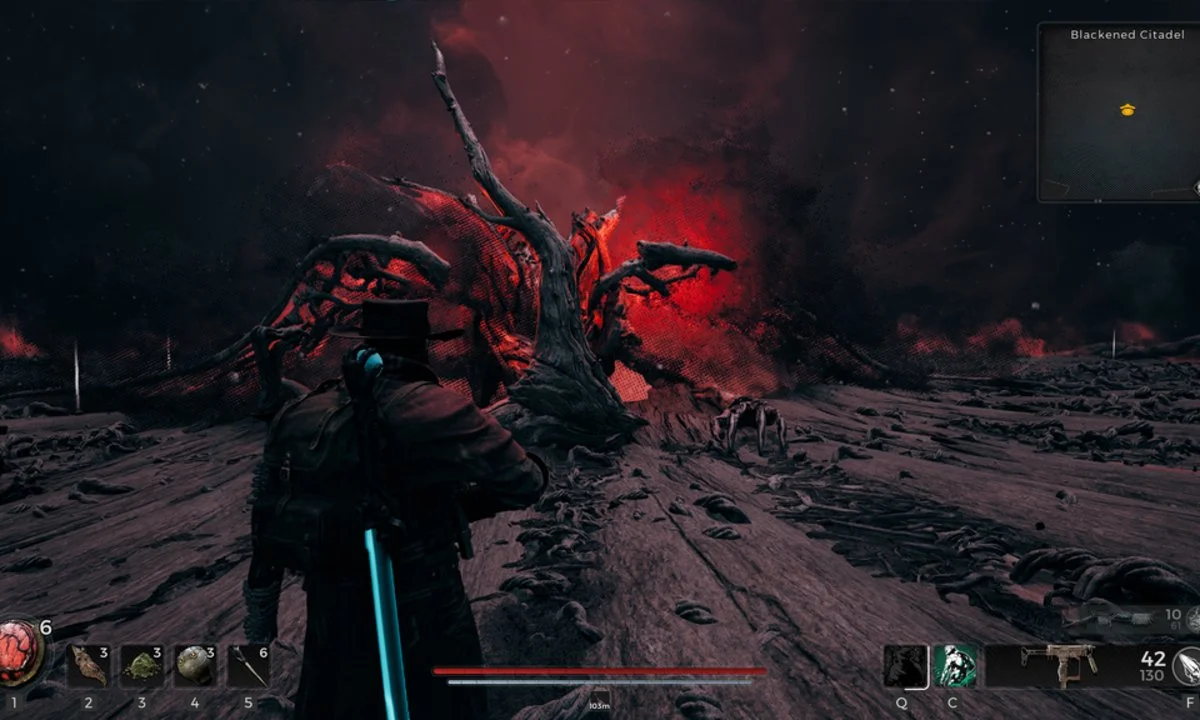
Stepping into the Blackened Citadel
As you ascend, your path shall guide you to the Blackened Citadel—an arena veiled in anticipation. Here, confront the enigmatic Annihilation—a face-off that ushers in Remnant 2’s climactic crescendo.
Engaging Annihilation: Source of Corruption
Face off against the enigmatic Annihilation—a Root deity and source of the realm’s corruption. Survive three challenging phases, mastering each encounter’s mechanics:
1. Annihilation’s First Phase: Exploit patterns, dodge telegraphed attacks, and breach the entity’s defenses.
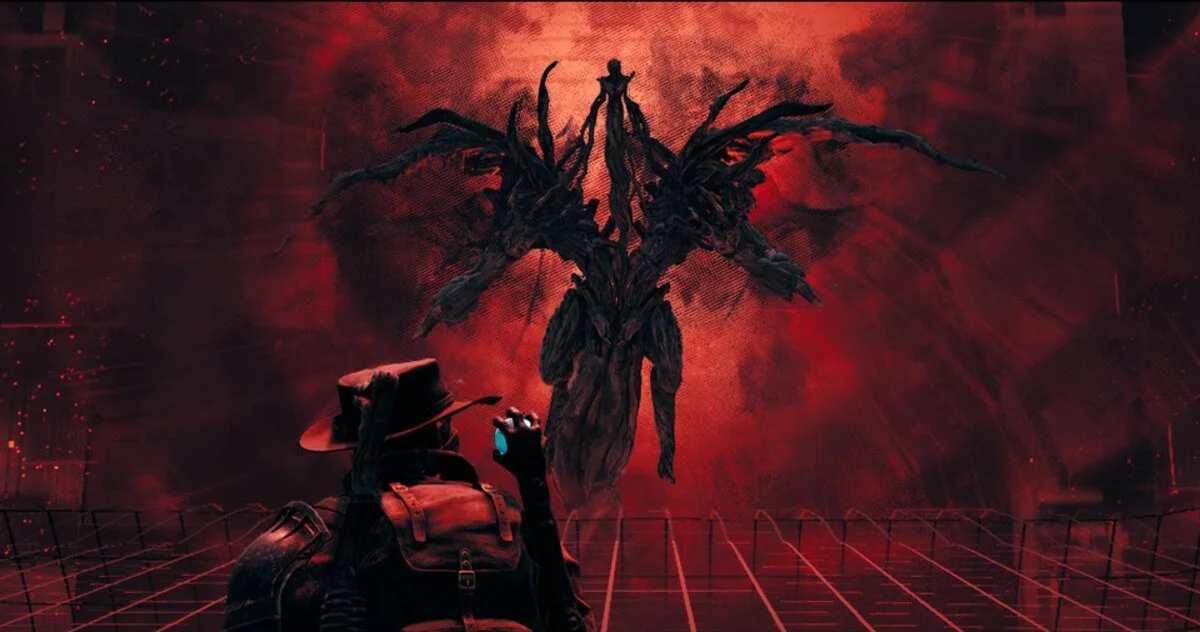
2. Annihilation’s Second Phase: Navigate the confined arena, evade swiping attacks, and overcome trials that defy spatial constraints.
3. Annihilation’s Third Phase: Survive Annihilation’s relentless onslaught, persevering as a horde of minions inundates your surroundings.
Related: Remnant 2 Review – A Procedural Co-op Looter Shooter Adventure
Reap the Spoils of Victory
After an arduous struggle, Annihilation’s defeat rewards you with the Broken Compass (Explorer Archetype) and the Forgotten Memory (Alpha/Omega Long Gun). Your triumph reverberates as echoes of destiny return you to Ward 13, the culmination of a tale that unfolds anew with each venture.
Let’s party to celebrate this achievement
Bask in the culmination of your journey—triumph over Annihilation, mark the close of Remnant 2, and prepare for the uncharted paths that await beyond. Read Latest Games News & Updates Click here.