Enter the captivating world of Yaesha, which was once vibrant but is currently cursed by the Root. While exploring this enthralling land, Remnant 2 will present you with obstacles, hidden stories, and treasures. Discover the hardships of its people, solve enigmas such as The Red Throne World Stone, and take on powerful opponents such as The Twisted Ravager. Take part in this heroic journey to discover the yaesha’s secrets.
Check Out the Magical World of Yaesha
Venture into Yaesha secrets, a once-vibrant jungle realm that now bears the mark of the Root’s curse. This captivating world in Remnant 2 stands as a testament to the relentless grip of the Root, and its stories are woven with challenges, treasures, and hidden secrets.
Root’s Curse and the Struggle of Yaesha’s Inhabitants
Once a thriving kingdom, Yaesha has been ensnared by the Root’s influence ever since human feet last tread its soil. The resilient citizens of Yaesha valiantly resist the relentless advances of the Root, but their efforts have so far proved in vain.
Deciphering the Enigma of The Red Throne World Stone
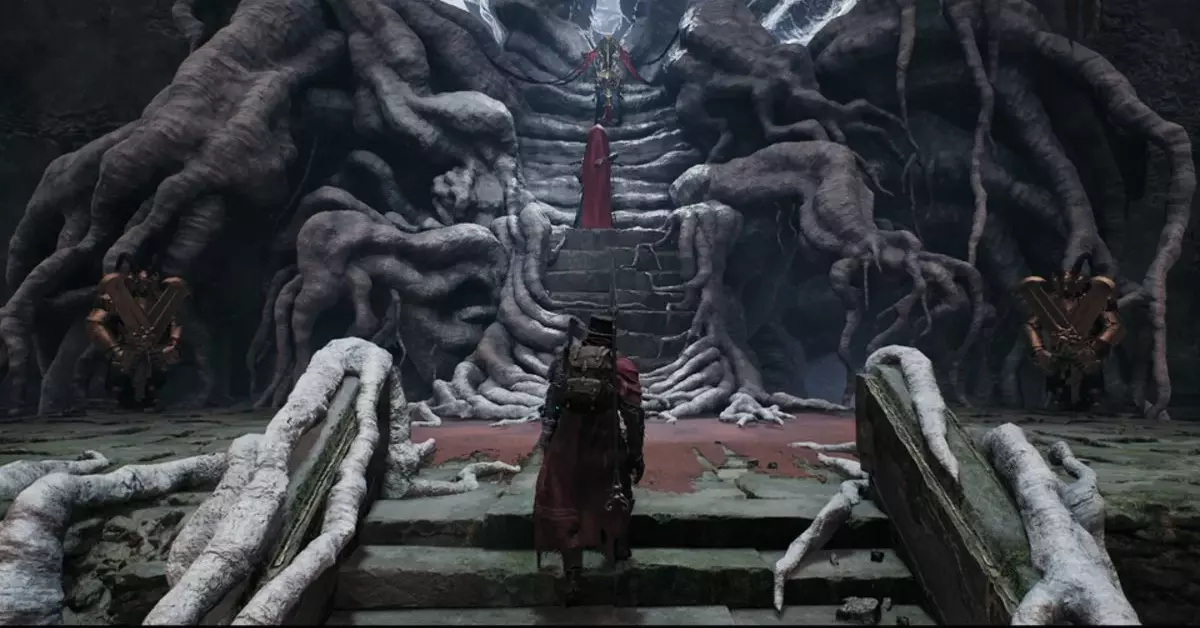
Upon your journey, a direct path from The Red Throne World Stone guides you to the Empress’ opulent throne room. Exploring the branching trails, you’ll uncover two separate library chambers, each filled with glimpses of the world’s lore.
In the throne chamber, you’ll cross paths with two notable Pans: The Empress and her advisor, who speaks on her behalf. Their quest for you is to vanquish the now-corrupted Guardian. You hold the choice to embrace the Empress’ plea or affront her, risking her guards’ wrath. Triumph may prove elusive, but should defeat find you, imprisonment awaits rather than death.
Opting to stand united with the Empress, your departure from the throne room shall unfold smoothly.
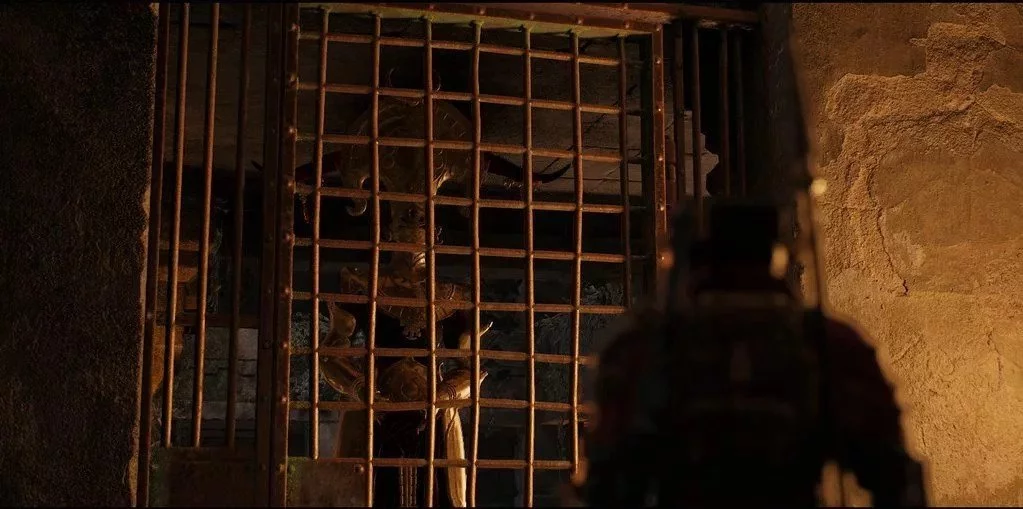
Amidst your captivity, the Empress unveils a startling revelation: her advisor is the true Empress, concealed to hide the fading immortality imposed by the Root’s clutch over the legendary Thaen tree.
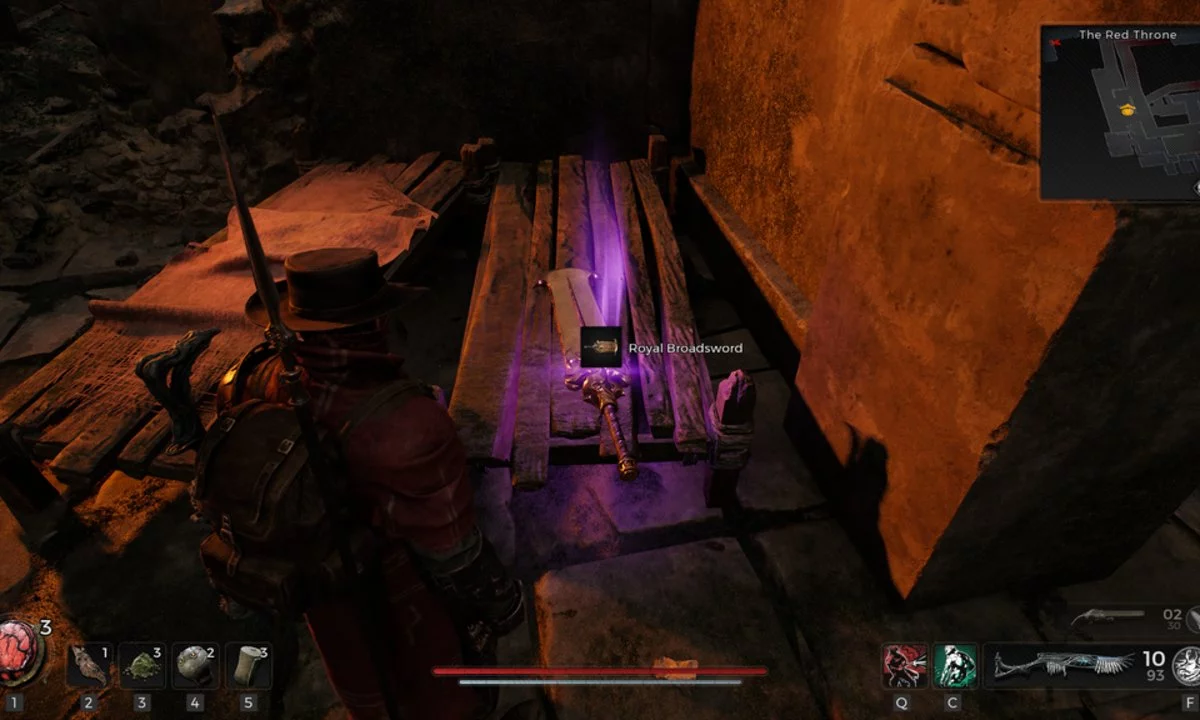
Within the confinements of the jail area, a hidden gem awaits discovery—an exclusive melee weapon named The Royal Broadsword. On the third level of the prison, a wooden bed cradles this treasure, alongside twin chests harboring valuable resources. A concealed wall whispers the path of progression.
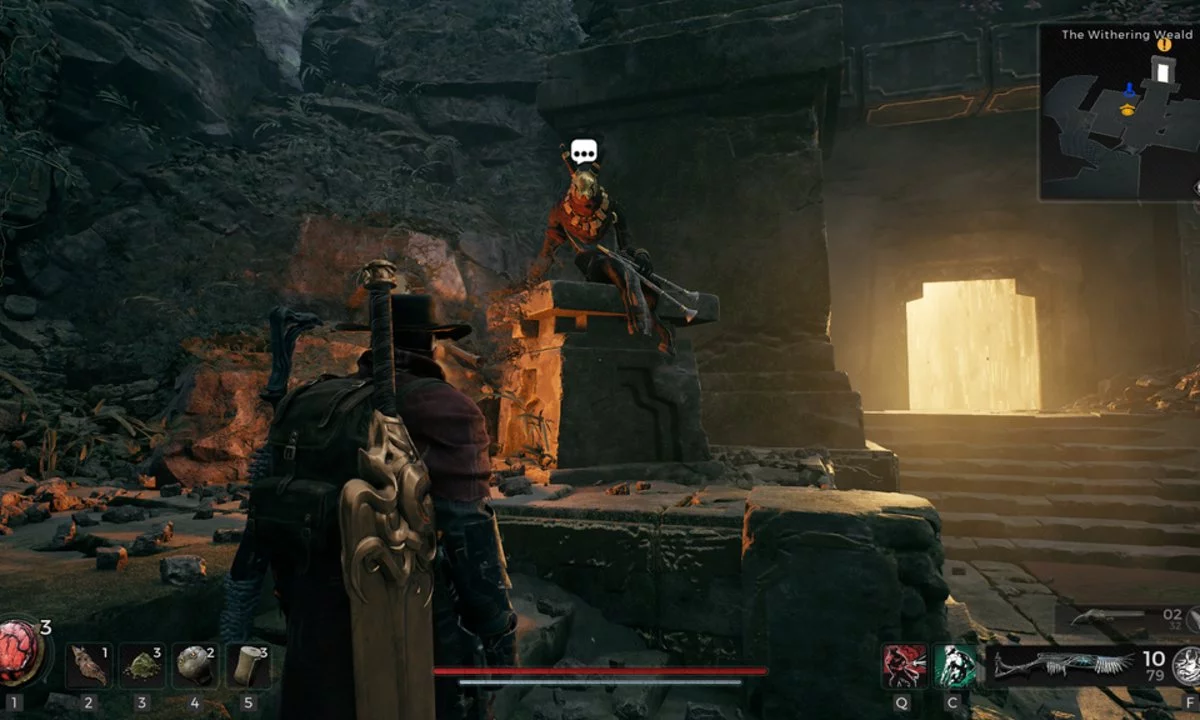
Once liberated, journey down the unexplored trail adjacent to the throne room, unveiling the entrance to the dungeon door leading to the first overworld. Here, you’ll cross paths with The Flautist, an NPC disclosing the Corruptor’s location, a pivotal adversary.
Stepping into the second overworld, your quest shifts towards discovering the entrance to The Widow’s Court—a sprawling main dungeon guiding your footsteps to The Great Bole, home to the Thaen tree and the formidable world boss.
Related: Remnant 2’s Losomn – Your Ultimate Guide to its Mysterious World
Unfolding across the second overworld are an array of events, encompassing the enigmatic Root Nexus and the mystical Blood Moon Altar. While the event’s occurrence may fluctuate, destiny often guides adventurers, regardless of the narrative.
Although The Widow’s Court primarily paves the way to the ultimate confrontation, a concealed room awaits your gaze—an alcove concealing an artifact destined to garner favor from the Empress.
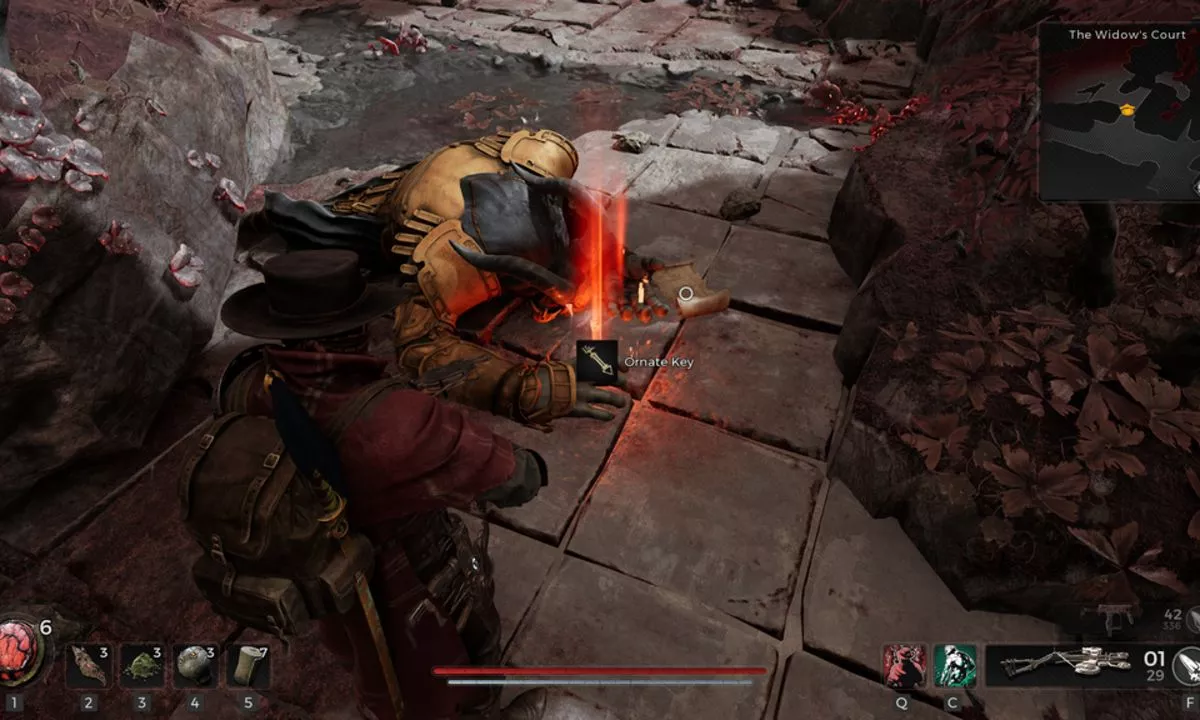
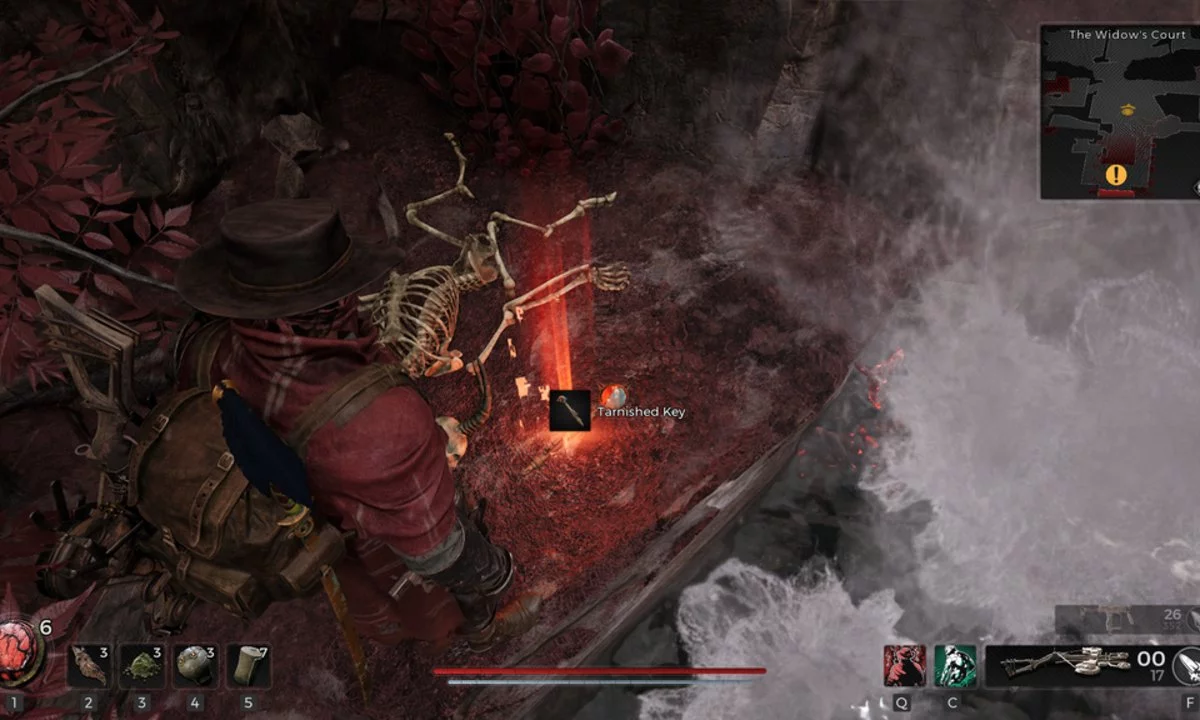
Two keys—Ornate and Tarnished—beckon discovery. The Ornate Key rests near a fallen Pan warrior’s frame within the dungeon’s core. The Tarnished Key unveils itself after a leftward journey from the World Stone, culminating in the embrace of a waterfall’s veils. This key guards a locked door on the court’s second tier, but delay your return for now.
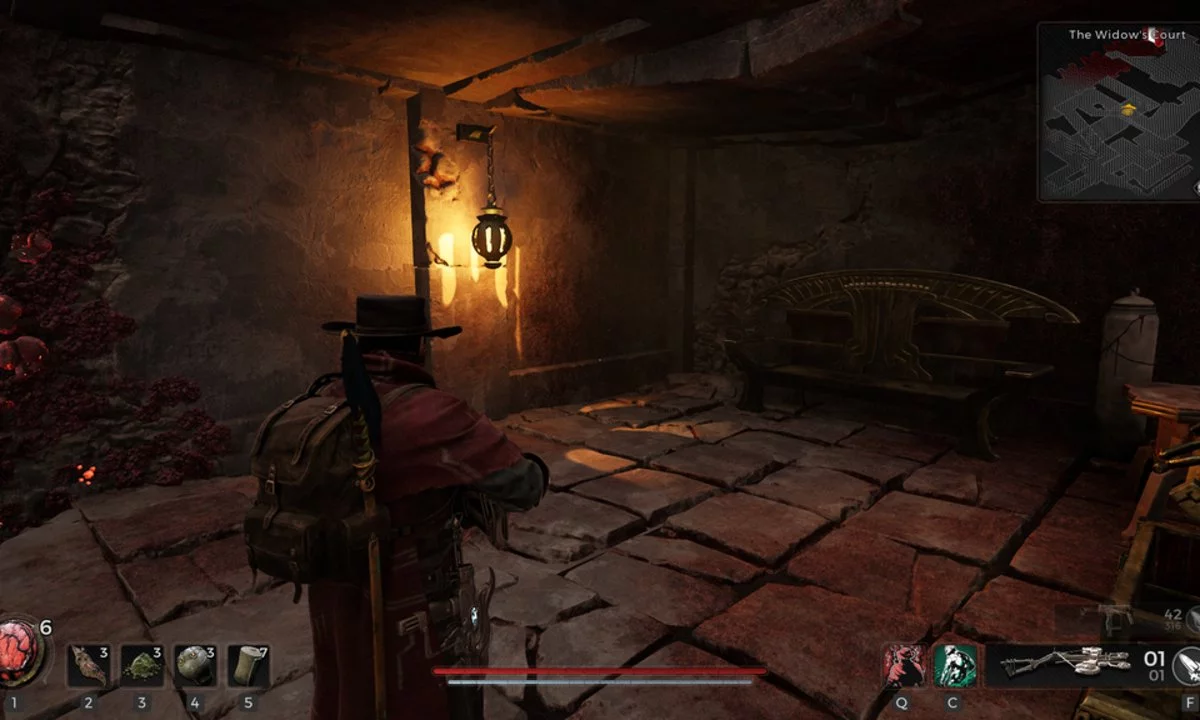
Progress beyond the second key’s site, navigating the path towards an obscured chamber, graced with a bench and a trove of resources. Adjacent to the chamber’s lantern lies an illusory wall, revealing the passage to the hidden sanctuary.
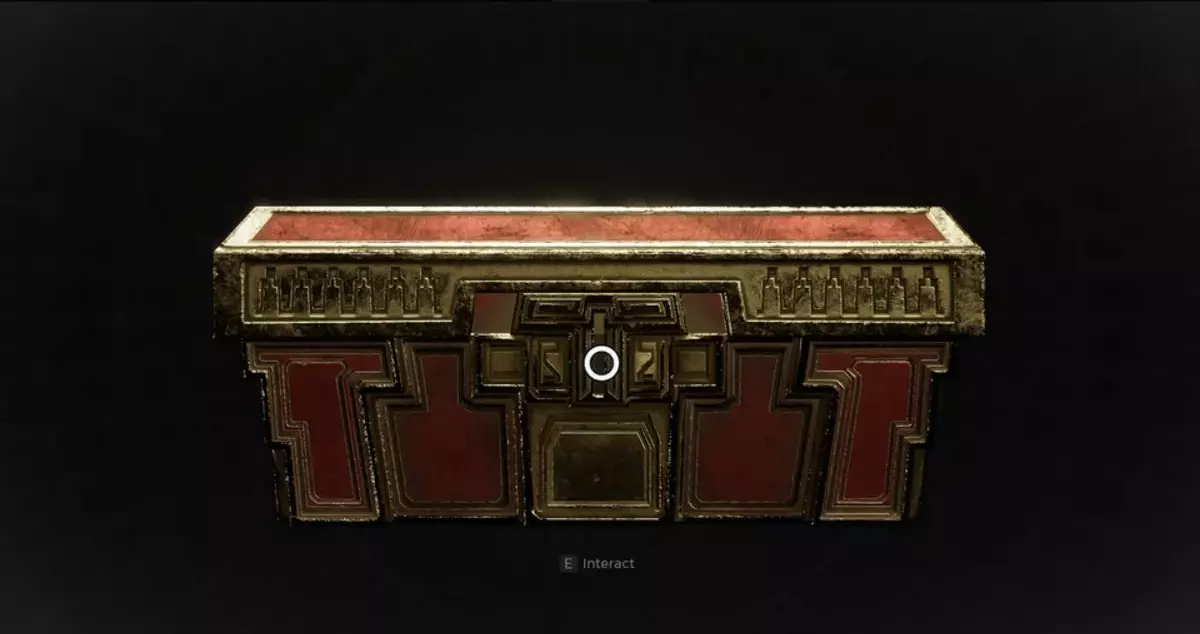
A Jewelry Box concealed within yearns for exploration; with the Ornate Key’s touch, its secrets unfold. Should your choice sway towards withholding the box’s allure, the Empress, in gratitude, shall reward you with the Red Doe Sigil amulet.
Emerging from the labyrinthine depths, approach the exit, for the Corruptor awaits, ready to challenge your mettle.
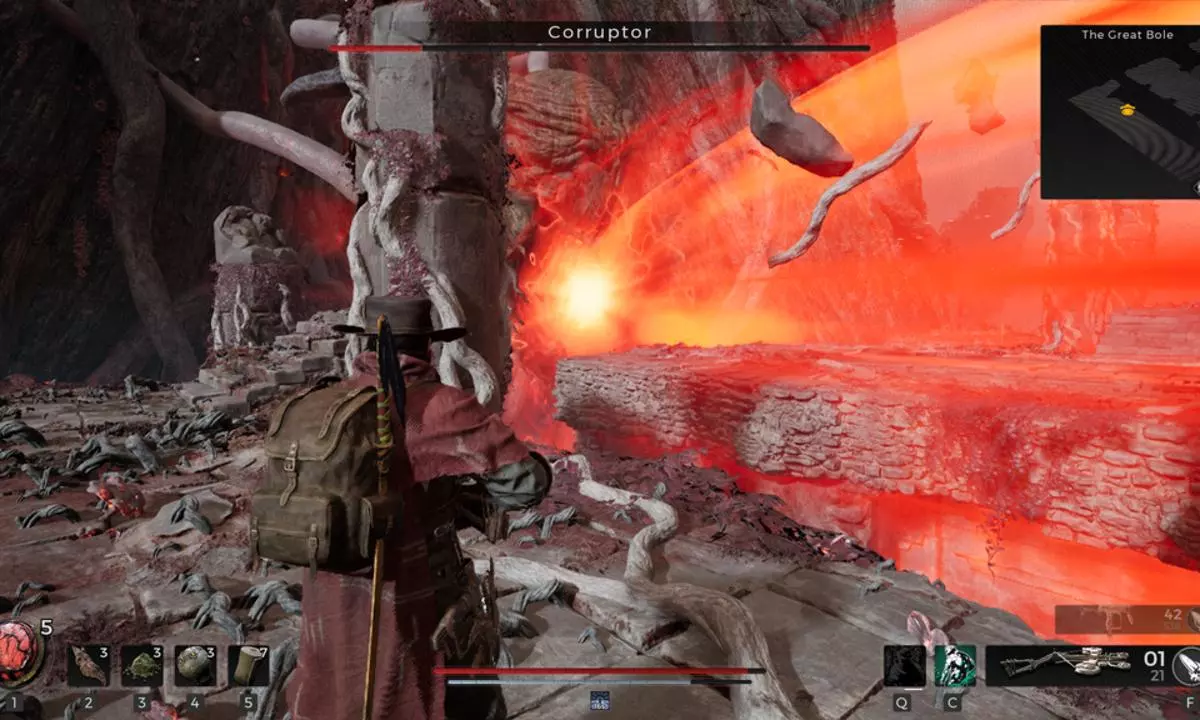
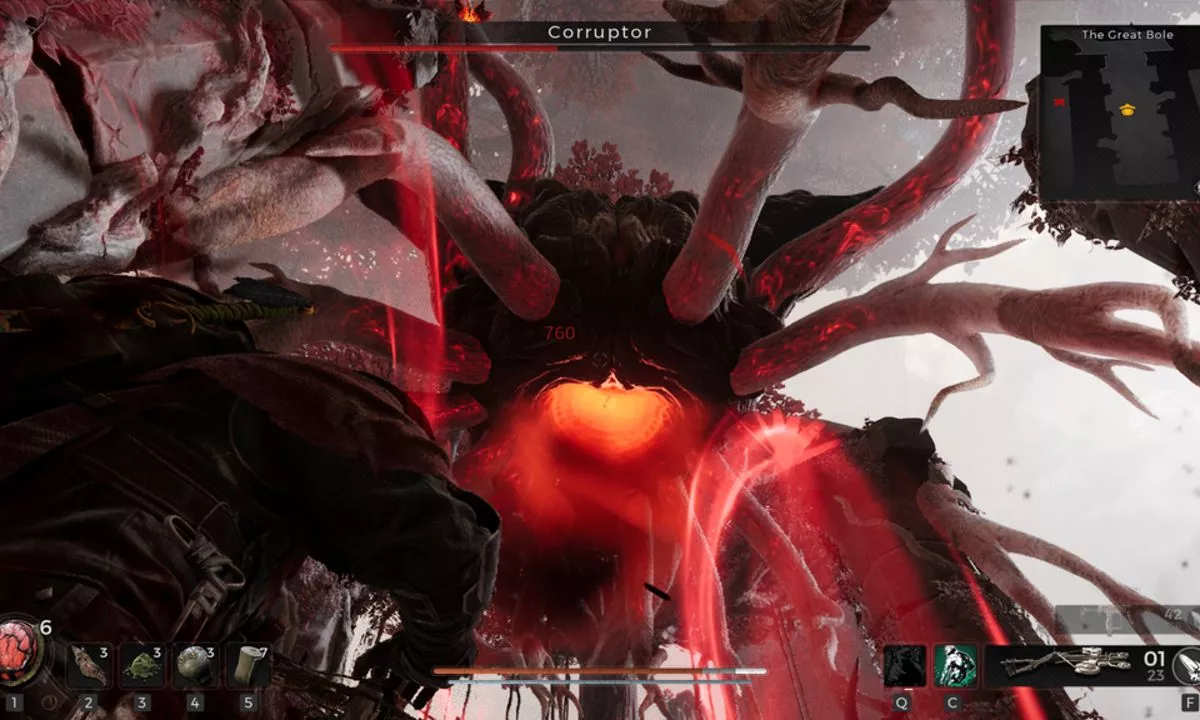
Confronting the Formidable Corruptor
Engage in a battle against the colossal entity known as the Corruptor—a puppet master ensnaring the Thaen Guardian. Two distinct adversaries are entwined in this confrontation, yet only the Corruptor’s fall spells victory and the completion of this chapter.

The battlefield expands across three floating platforms, linked by leaps from adjacent staircases. Swift action is needed to evade the Corruptor’s devastating beam attack, blanketing an entire platform, its perilous sting sparing no quarter.
Survival hinges on toppling the Guardian, revealing the Corruptor’s vulnerability. Upon the Guardian’s demise, the Corruptor swoops in to revive its fallen counterpart, opening a window to assail the Core with unrelenting fire.
The Thaen Guardian brandishes a trio of attacks:
1. Detachable Arms: Lancing forward in a swirling melee and a conventional slash, inflicting harm upon contact. The arms boast independent vitality, with their destruction whittling down the Guardian’s health.
Related: Remnant 2 Guide – Prologue, Ward 13, and N’Erud’s Cosmic Odyssey
2. Spinning Swords: Manifesting as the Guardian converges its arms, culminating in a sweeping arc charge towards you.
3. Shockwave Leap: Employed to traverse platforms, landing sends shockwaves rippling—manageable if met with attentive evasion.
The Corruptor rewards triumph with one of two treasures:
1. Defeating the Corruptor as the Guardian lies vanquished bequeaths the Twisted Lazurite = Twisted Arbalest.
2. Felling the Corruptor while the Guardian thrives yields the Hollow Heart = Stonebreaker.
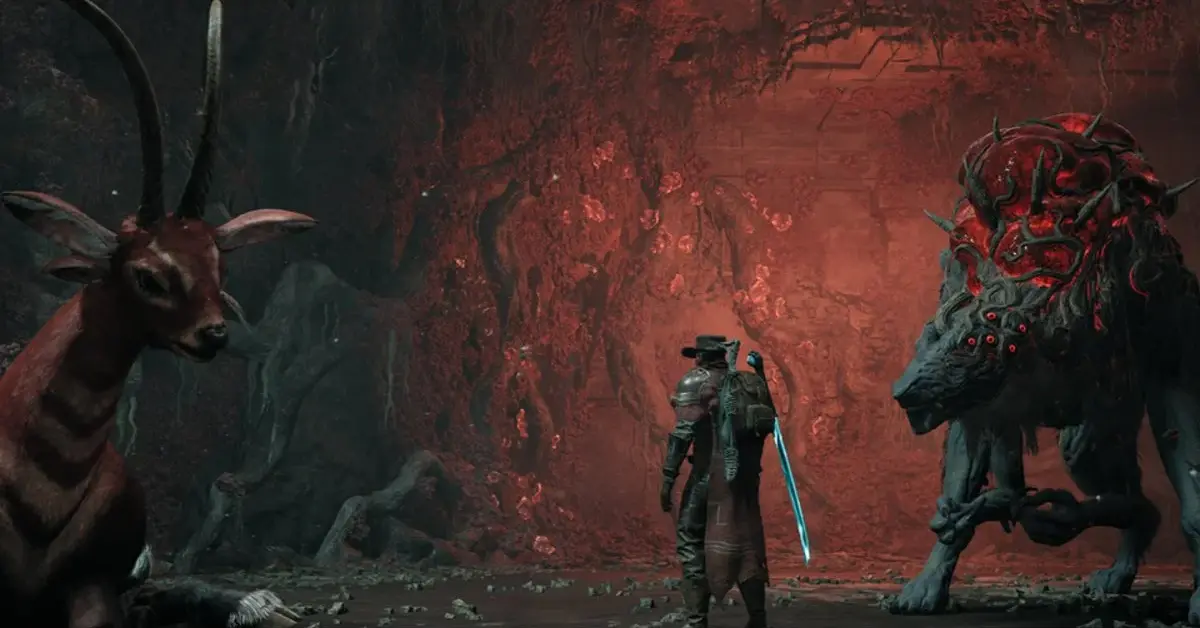
The Saga of The Doe and The Ravager in Remnant 2
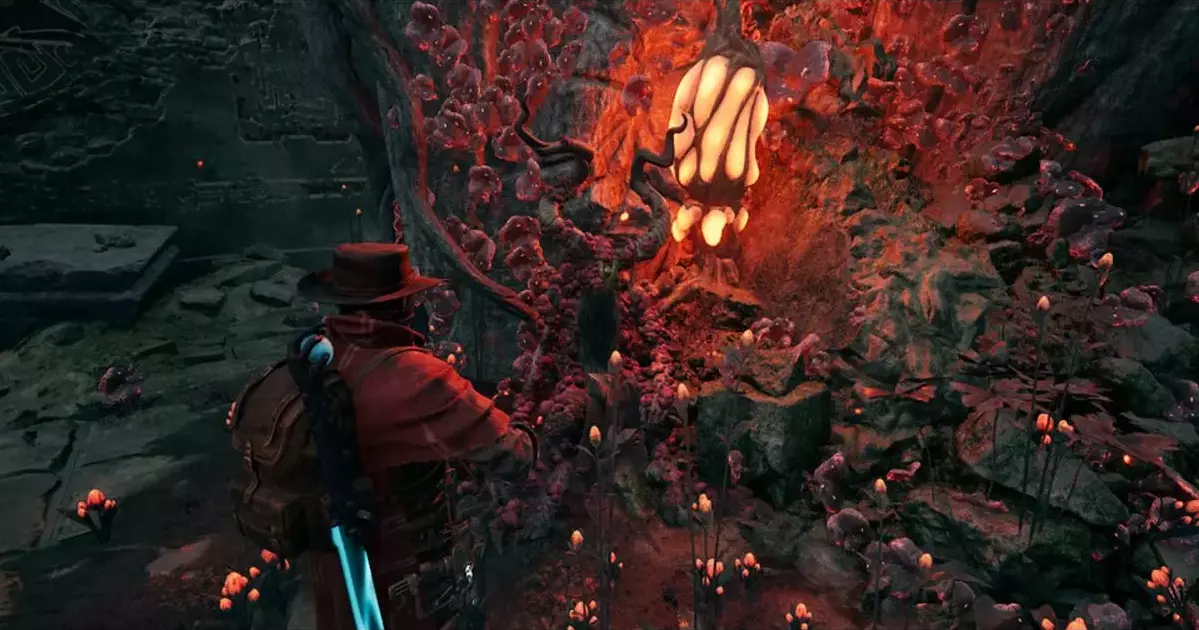
The chronicle of The Doe and The Ravager commences within The Forbidden Grove. As you set foot upon Yaesha’s soil, you encounter Bedel of the Vaunnt—an ailing former Pan leader, ensnared by the Root’s grasp.
Bedel unfolds the tale of Yaesha’s divine guardians—The Red Doe and The Ravager. The latter, bound to the Root’s power in exchange for salvation, demands your hand in ending its existence. Thus unfolds your quest to unearth The Ravager’s lair deep within the jungle’s heart.
Bedel, a merchant imbued with wisdom, traverses both ally and vendor realms. Upon vanquishing The Red Doe and quelling The Ravager, Bedel awaits your return, poised to reward your valor. Yet heed the warning: should the Doe succumb in battle, Bedel’s boon shall elude your grasp.
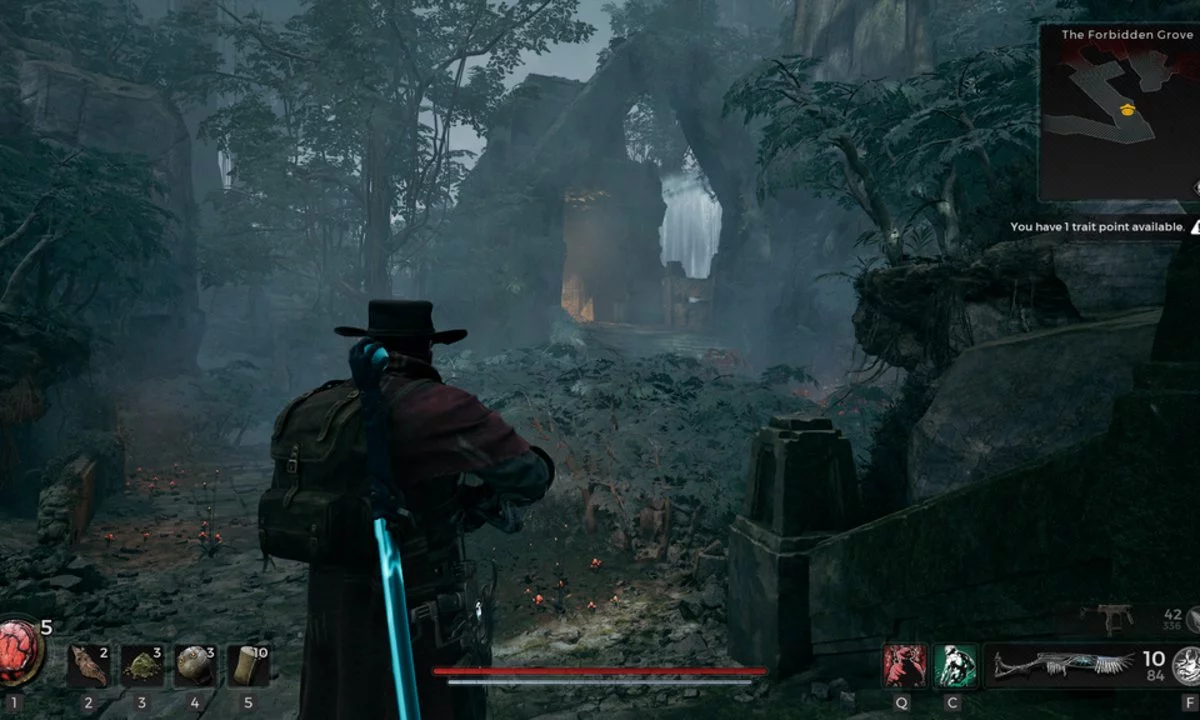
Within The Forbidden Grove sprawls an expansive overworld cleaved in twain. To unveil The Lost Temple nestled in the overworld’s latter half, conquer the heart of the principal dungeon, thwarting its sovereign.
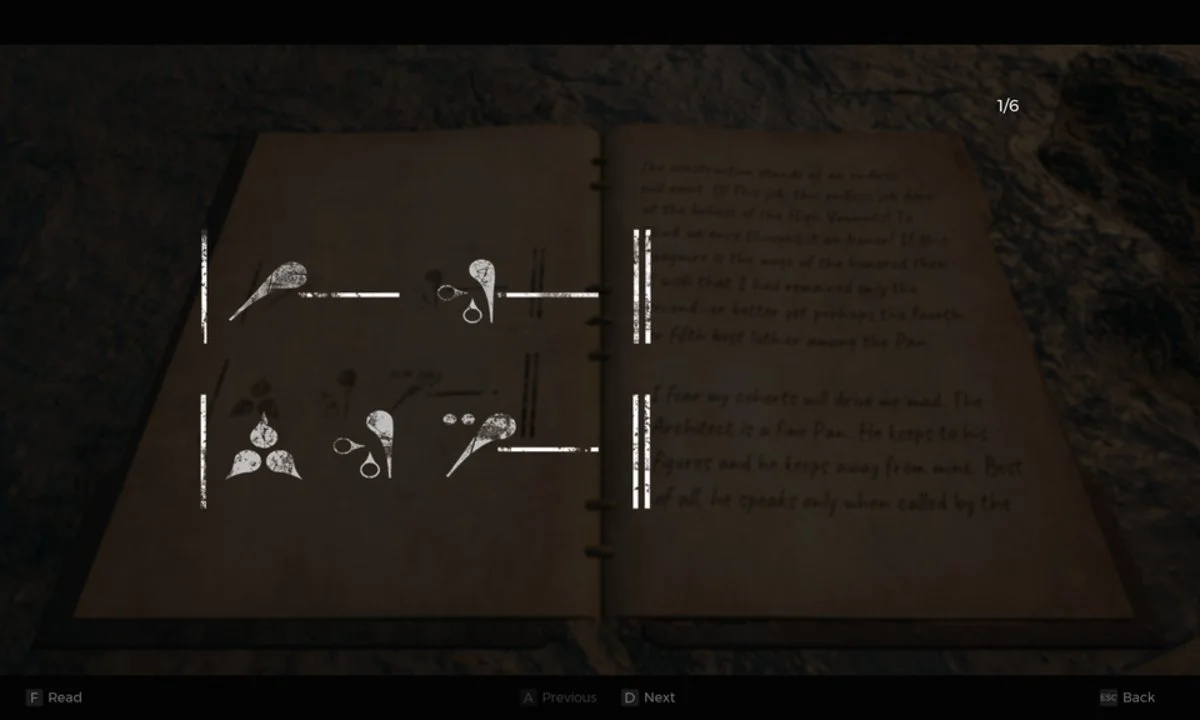
Beneath the aegis of The Lost Temple World Stone, a table cradles a musical note-embellished tome. The Great Water Harp holds the key to these notes’ melody, raising bridges to traverse into the heart of The Ravager’s lair.
Embrace the unique melody composed for your journey, as each playthrough ushers a distinct arrangement.
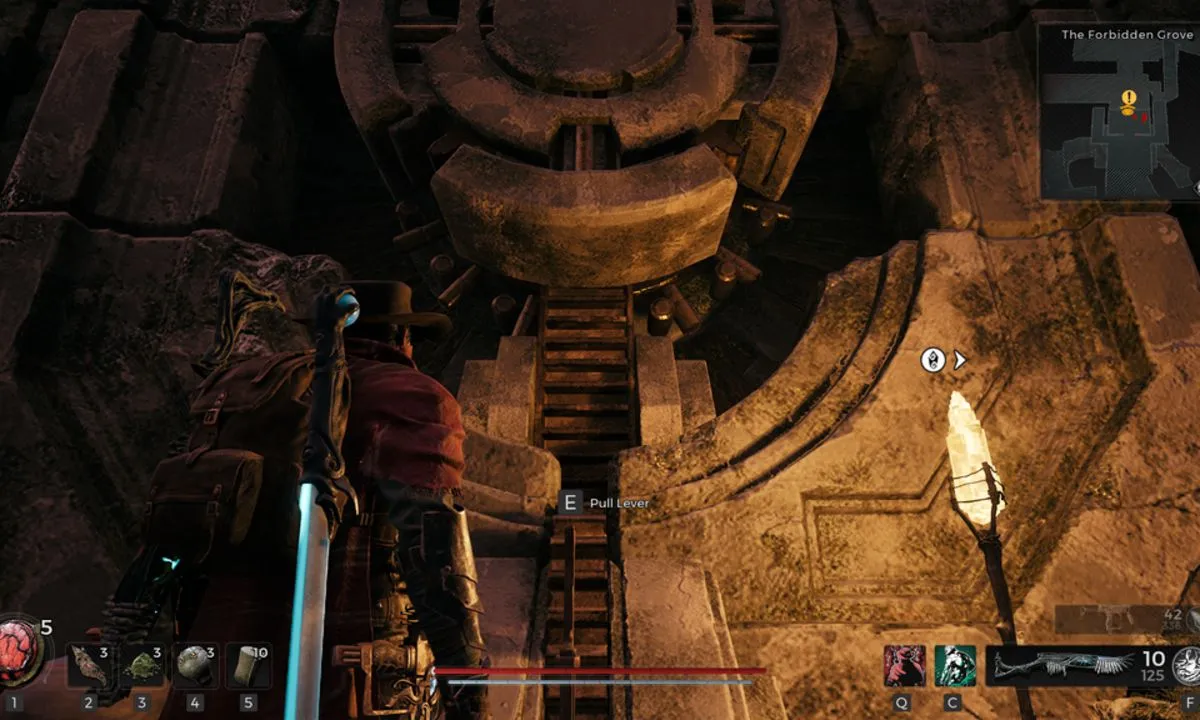
Not until the second overworld’s core dungeon is bested shall the puzzle unfold. A passage shall loop to the chamber opposite the locked portal, revealing the lever igniting the Water Harp’s symphony.
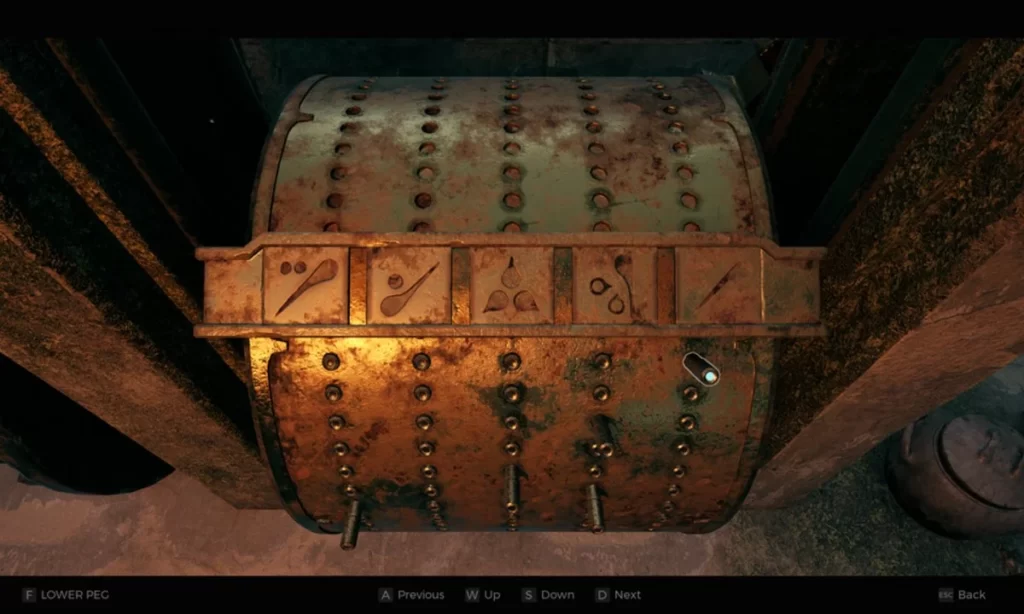
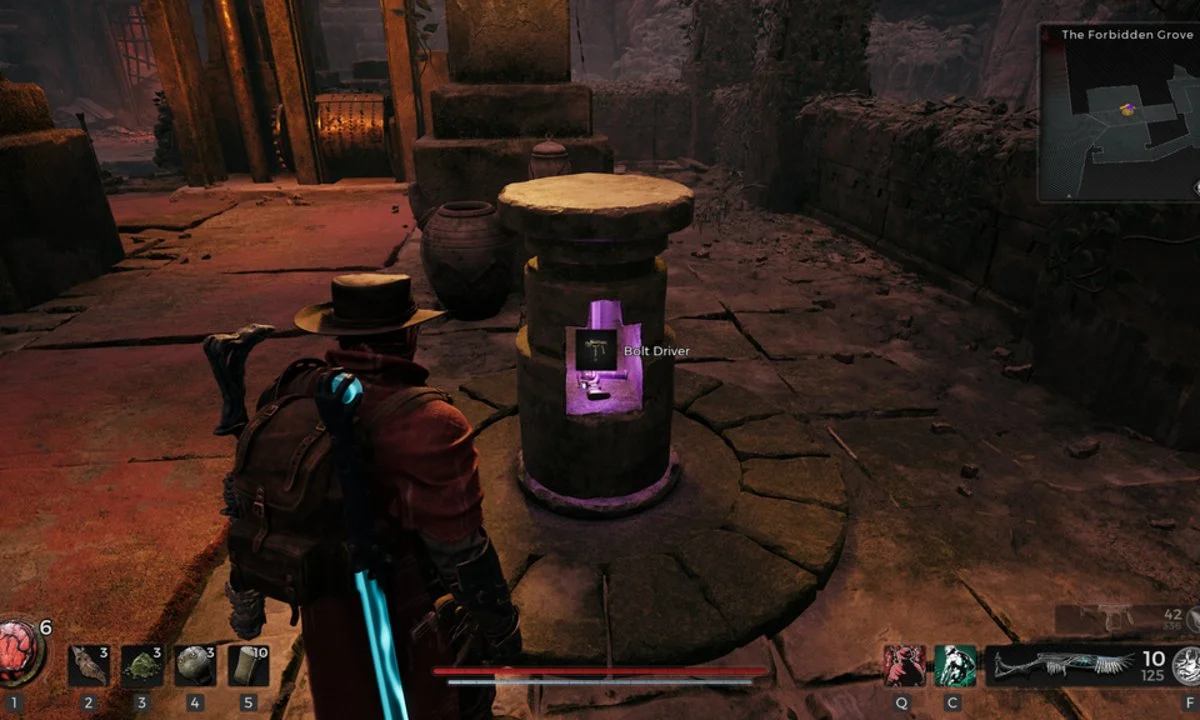
Guided by the horizontal cues, unlock the Bolt Driver pistol—a Secret Song poised to liberate its notes. The notes—1, 4, 0, 2, 5, 0, 3, 0—usher revelation, unveiling the Scroll of Binding from The Flautist’s lips. With Yaesha’s depths unveiled and bridges raised, traverse The Ravager’s lair—your ultimate adversary awaits.
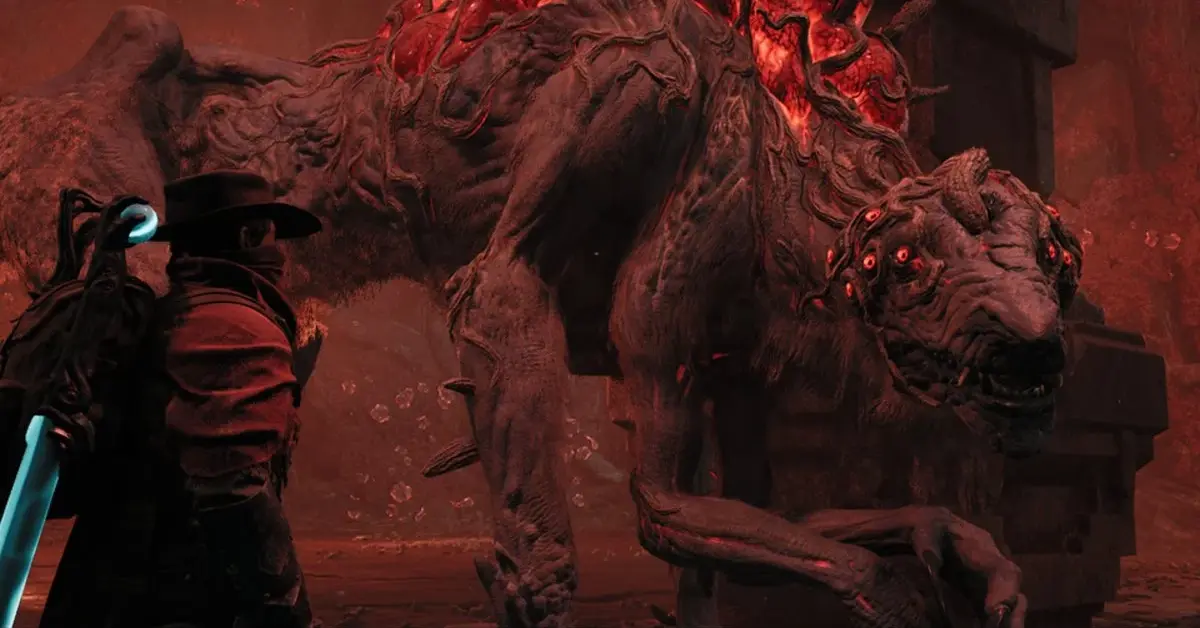
Confronting the Twisted Ravager
Embark upon a duel with the formidable Corrupted Ravager—a blend of swiftness and force, poised to test your skill. This engagement’s outcome hinges on choices made both prior and mid-battle, guiding your reward’s destiny.
Upon initial discourse with The Ravager, a decision emerges: heal The Doe or sever its existence. Yet concealed beneath this choice lies further permutations:
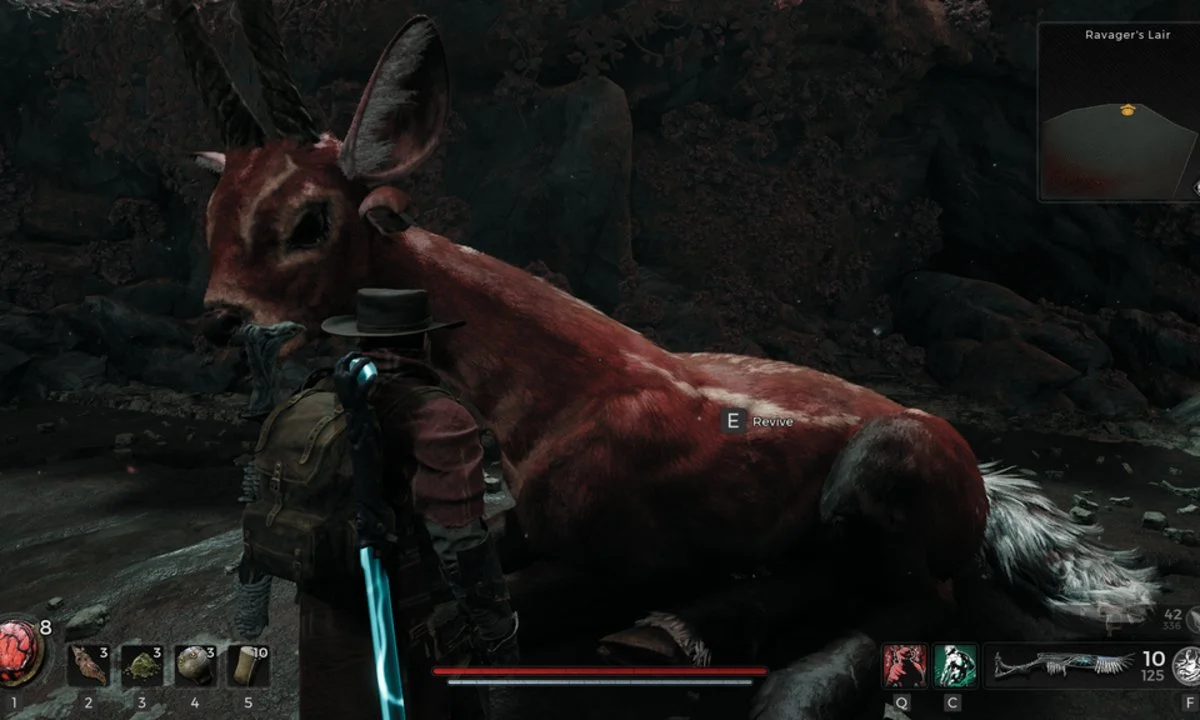
1. Healing The Doe, at The Ravager’s behest: Yield the Doe’s Antler, a key to the Red Doe Staff (Melee Weapon).
2. Slaying The Doe at The Ravager’s command: Secure the Ravager’s Mark (Amulet).
3. Slaying The Ravager per his order, and later ending The Doe: Emerge with Ravager’s Maw = Feral Judgment (Melee Weapon).
4. Slaying The Ravager per his order, and then, mid-battle, allowing him to consume The Doe: Claim Crimson Membrane = Merciless (Long Gun). Yet beware: failure in battle foregoes this reward.
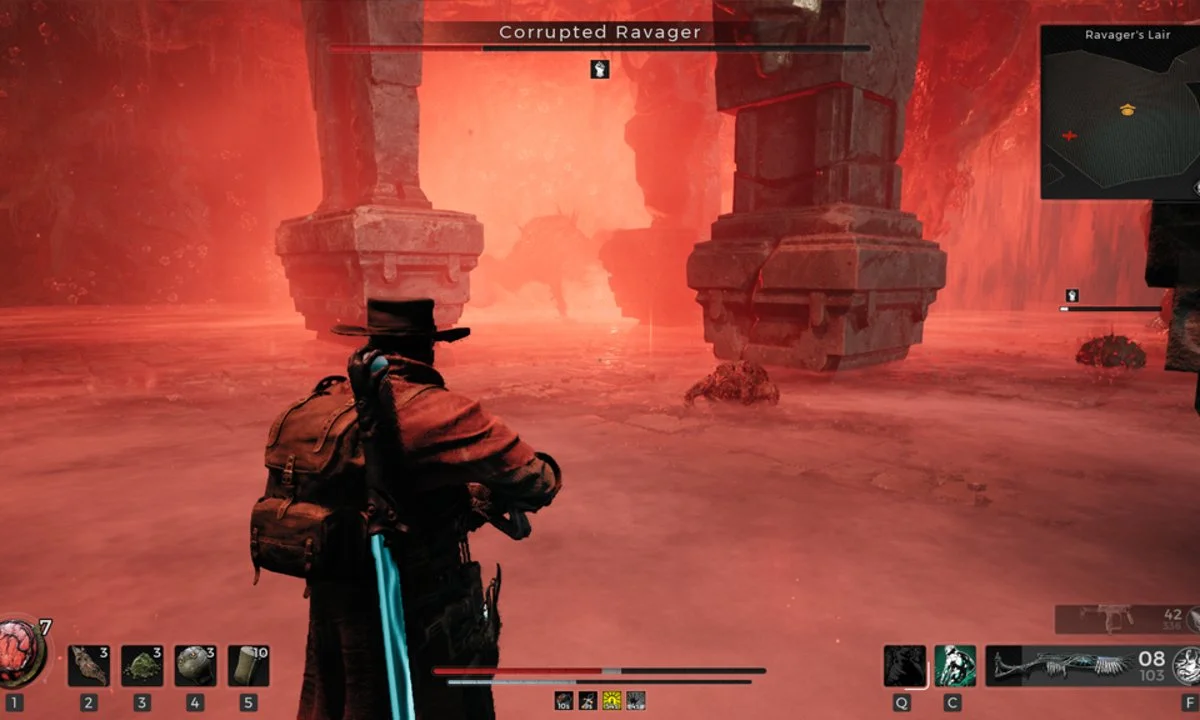
Embrace the challenge, as The Ravager’s rapid strikes and dynamic tactics challenge even the mightiest contenders. Fend off his Root Tumblers, an obnoxious bunch whose rolling attack poses a threat to your rhythm.
His melee barrage is swift, featuring diagonal strikes and an agile lunge coupled with bites. Brief retreat heralds his root wave or minion summons, creating openings to assail him.
Related: Remnant 2 Review – A Procedural Co-op Looter Shooter Adventure
An initial ranged root wave retreats as he dwindles to 50% health, his howl casting energy shockwaves—foretell by the howl to navigate these surges.
Be vigilant upon the Ravager’s power-up post-Devourer encounter; his shockwave morphs into an AOE pull, poised to stun.
Pillars furnish sanctuary and healing from his assault. However, be wary of his charge—the pillars are no shield against his onslaught.
Align with The Ravager and fulfill the pact by returning to The Forbidden Grove. Equip the Ravager’s Mark amulet before the monument of gods—an entrance to a concealed realm opens, where the Fruit of Death beckons.
Reveal Yaesha secrets, and emerge victorious against its trials. Read Latest Games News & Updates Click here.