Explore the captivating convergence of Dran and Fae in Remnant 2’s Losomn. Uncover the secrets of “The Asylum” and “The One True King” narratives. Navigate eerie landscapes, assist Dr. Marrow, battle The Nightweaver, and unravel the intricate tale of Faelin and Faerin. This concise guide is your key to mastering the mysteries of this enigmatic world.
Uncovering the Secrets of Losomn: A Guide to Remnant 2’s Mysterious World
Have you heard of Losomn? It’s a captivating realm within Remnant 2 where two contrasting worlds, Dran and Fae, have converged, giving birth to a world brimming with chaos and intrigue.
This extraordinary amalgamation has sparked an unsettling shift among the inhabitants. The Fae, once harmonious, are now consumed by an insatiable thirst for the life essence of the Dran, causing the latter to gradually relinquish their humanity.
In Losomn, there exist two captivating storylines: “The Asylum” and “The One True King.” These narratives offer distinct experiences, and you can easily discern which one you’re embarking upon based on where you first materialize in Losomn.
Diving into “The Asylum”
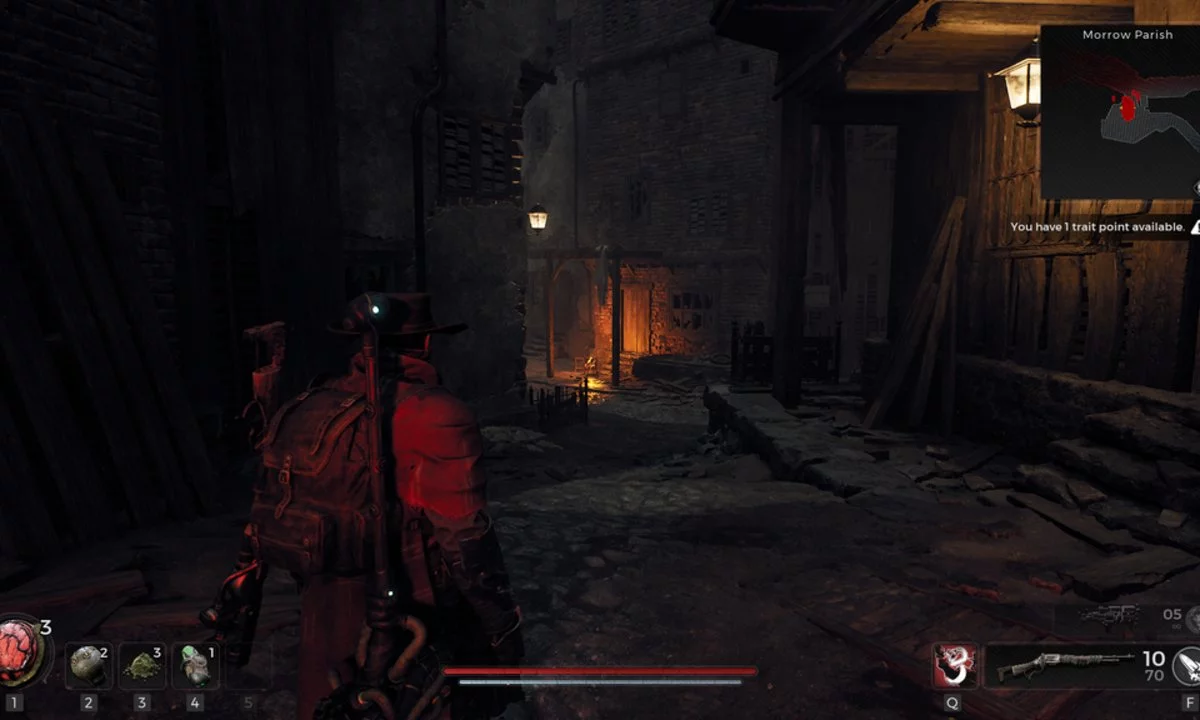
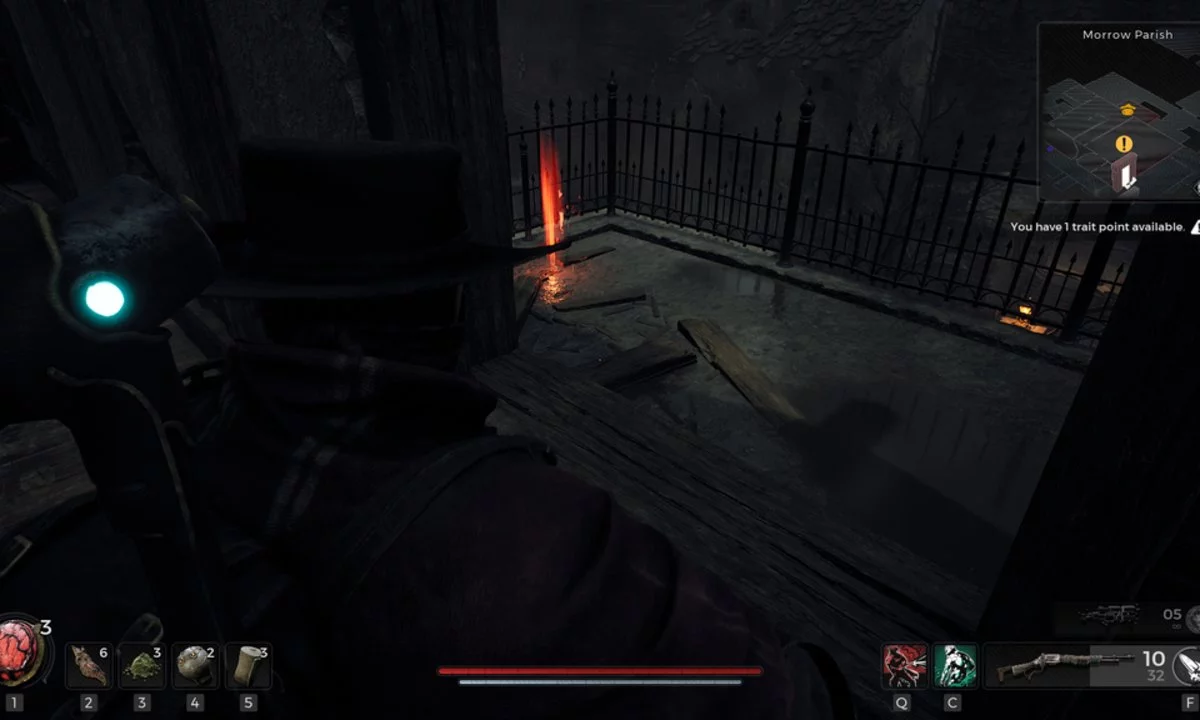
As you arrive in Losomn, you’ll find yourself in the depths of a forsaken house in Morrow Parish. Feel free to explore the world above, but bear in mind that you can only access one side dungeon before delving into the primary quest.
Keep an eye out while wandering through Morrow Parish. Near a substantial sewer grate, you might encounter an unexpected abduction by a Manticora, triggering an intriguing optional event. It’s crucial to note that this event exclusively occurs in the Dran version of Losomn.
Once you’ve completed the initial main dungeon, the second half of Morrow Parish will unlock. Here, you’ll discover the entrance to the Morrow Sanatorium—an eerie asylum where unsupervised patients roam.
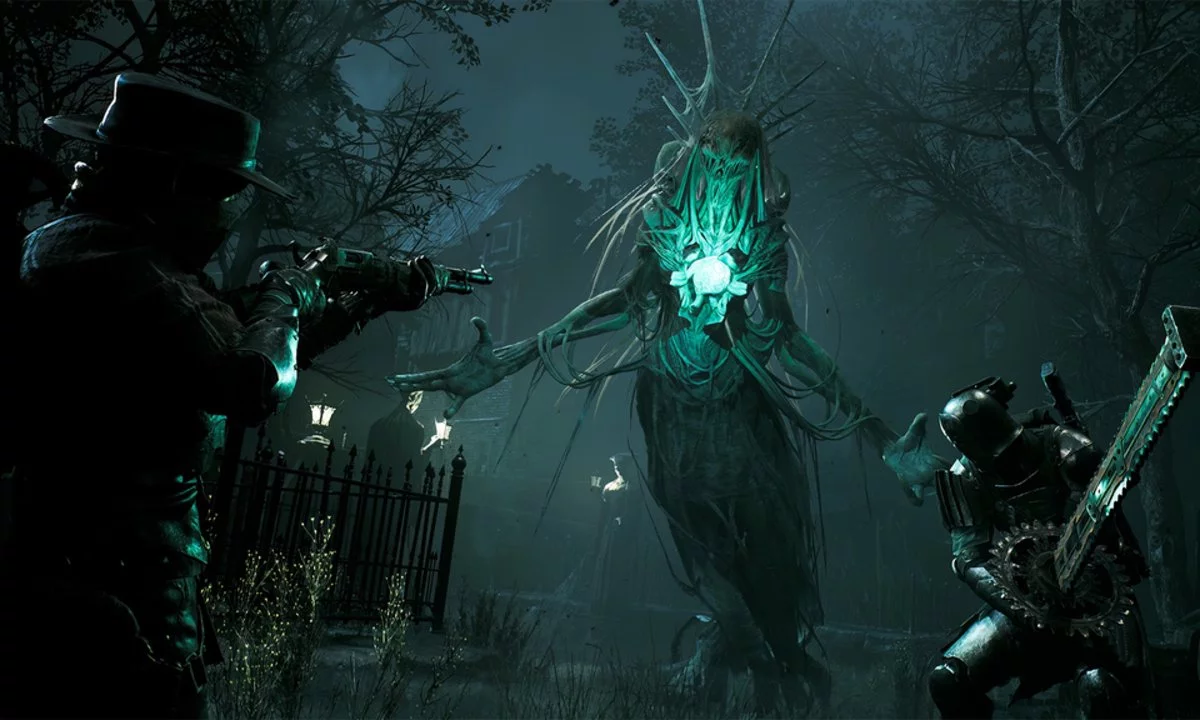
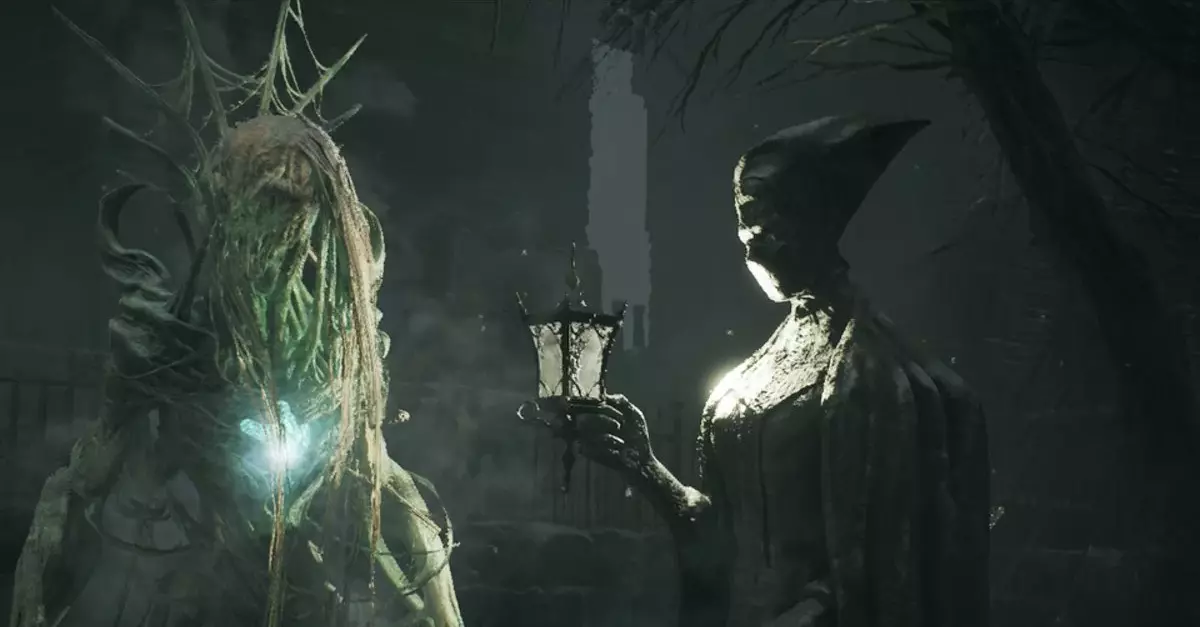
Here, the enigmatic tale of The Nightweaver unfolds. This entity thrives on the Dran’s fear, haunting their dreams. In the basement cellar, you’ll encounter Dr. Marrow, who’s imprisoned by her staff. She’s determined to carve stone statues of this tormenting figure to remember its appearance.
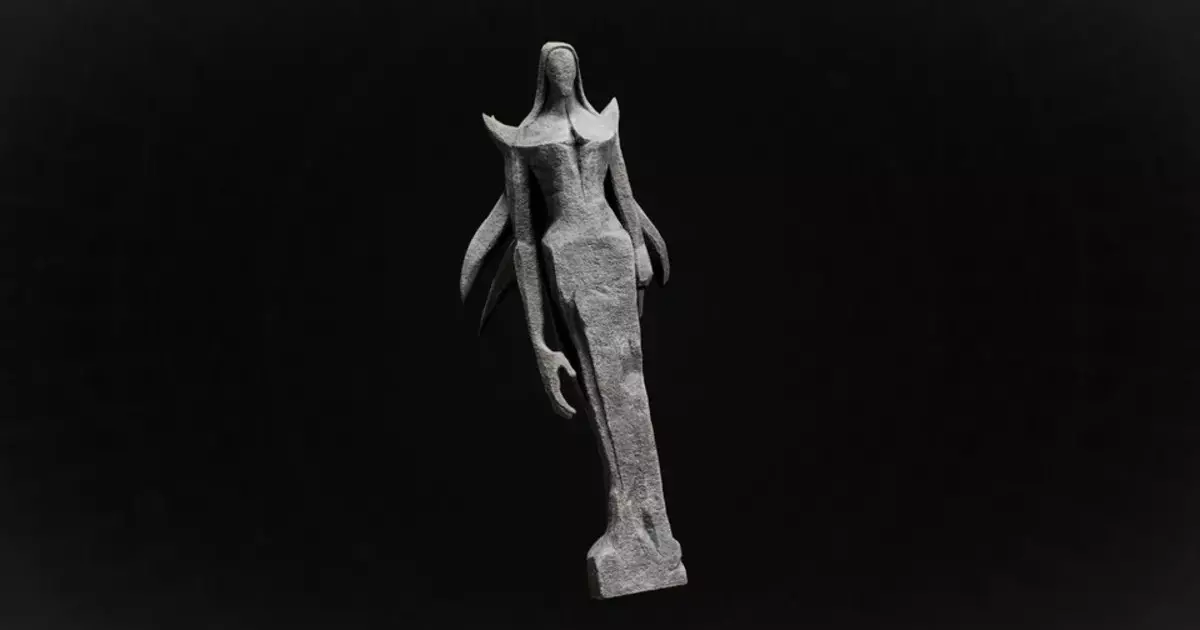
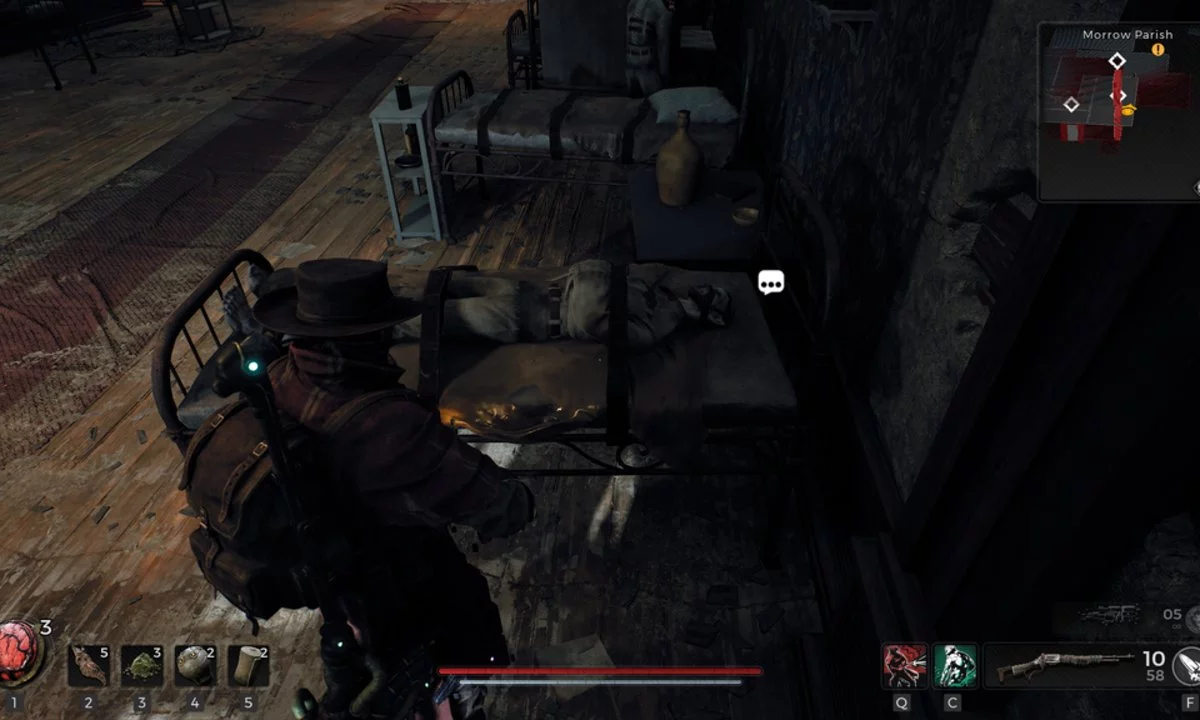
Assist Dr. Marrow by locating her Stone-Carved Dolls scattered throughout the asylum:
1. In a room with a hostile nurse and a patient lying on the floor.
2. Outside in the courtyard, near a shed guarded by the miniboss Ripsaw.
3. On the third floor, along with the Prison Cell Key found on the balcony.
After you get all three sculptures, Dr. Marrow will share a riddle with you that reveals the code to her office safe. Here’s the riddle:
“Two shiny copper teeth removed from
Nine discarded combs, and
Seven yellowed leaves excised from
One forgotten tome.”
The answer to the riddle is 2971. To get the answer, just follow the instructions in the riddle. First, remove two shiny copper teeth from nine discarded combs. This will give you 18. Then, remove seven yellowed leaves from one forgotten tome. This will give you 7. Finally, add 18 and 7 together to get 25. That’s the code to Dr. Marrow’s office safe!
Related: Remnant 2 Guide – Prologue, Ward 13, and N’Erud’s Cosmic Odyssey
Return to her office and enter the code (2971) to unlock her safe. Free Dr. Marrow using the Prison Cell Key, but the room will be empty, save for the Nightweaver Stone Doll.
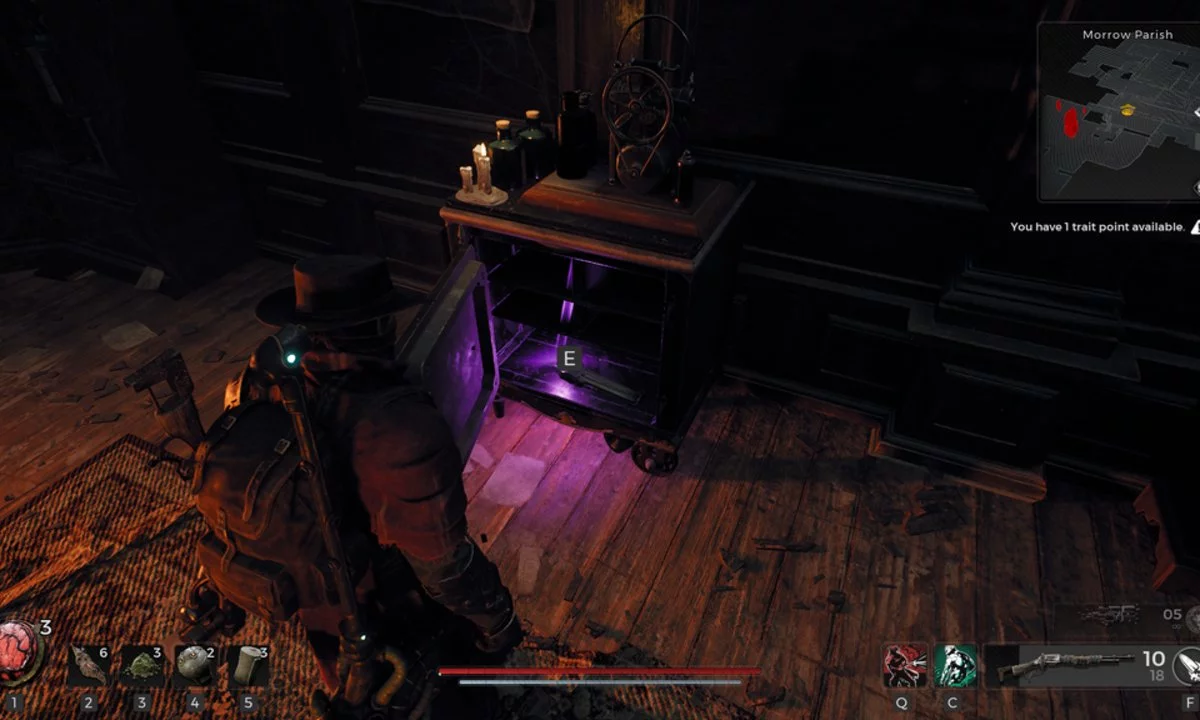
Once you’ve secured the Double Barrel from the safe, proceed to the third floor and access the golden gate leading to Nimue’s Retreat. This area acts as a bridge to the expansive Forsaken Quarter, containing various side dungeons.
Continue exploring the overworld at your pace. Depending on your choices, you might encounter the Oracle of the Dran here or back in Morrow Parish. Progress through the main dungeon in this quarter until you face The Nightweaver, a pivotal moment in the storyline.
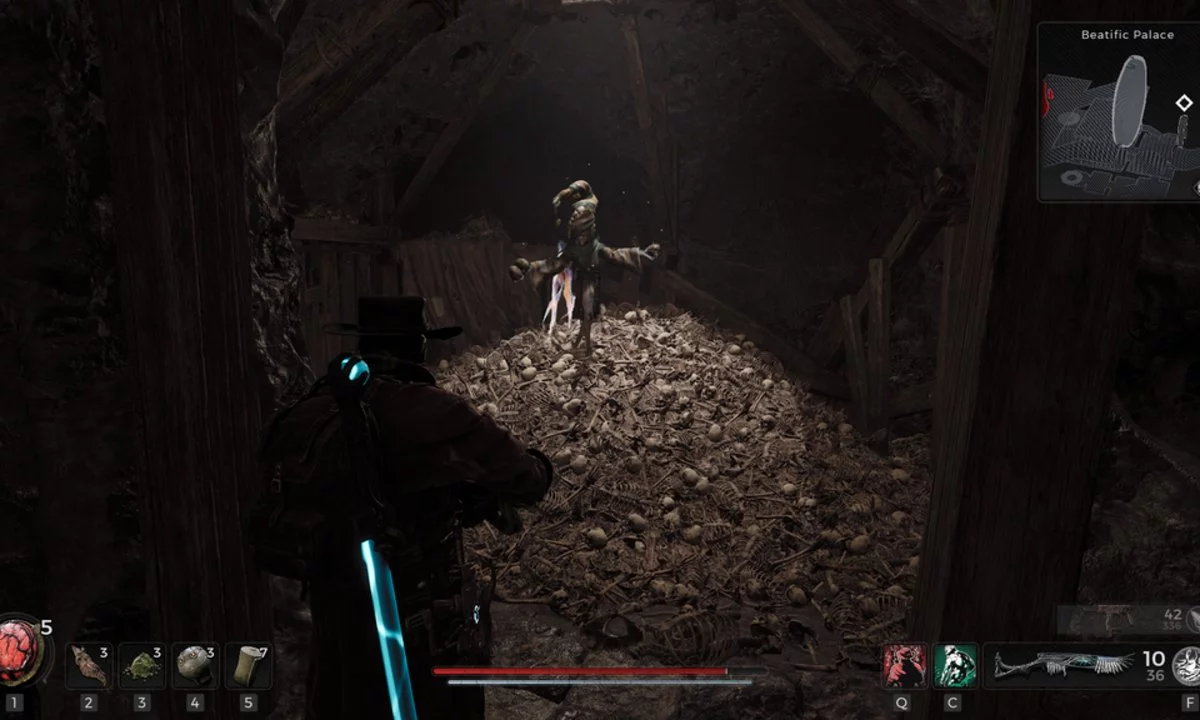
Upon defeating The Nightweaver, retrieve the Soulkey Tribute from the entity’s feast. Return to the Asylum and employ the tribute to access the mysterious web in the basement, transporting you to The Tormented Asylum.
Before confronting The Nightweaver, utilize the Nightweaver Stone Doll on her web to obtain the Dreamcatcher melee weapon.
Unveiling the Secrets of “The Nightweaver”
When it comes to the boss battle against The Nightweaver, your prime focus should be her Glowing Heart located at the middle of her chest. Maneuvering within the confined arena during her first phase can be challenging, so follow this strategy:
As the battle initiates, dodge her attacks and position yourself in the courtyard’s center. This tactic prevents you from getting trapped in a corner right after entering.
The Nightweaver boasts an array of melee and ranged assaults, often summoning minions. These summoned minions are relatively weak and can drop ammo upon defeat.
Beware of her powerful lunge melee combo followed by an AOE dive bomb. Sidestep the initial lunge and flee to evade the AOE attack’s substantial range.
After depleting her initial health bar, prepare for the second phase within the Asylum. During this phase:
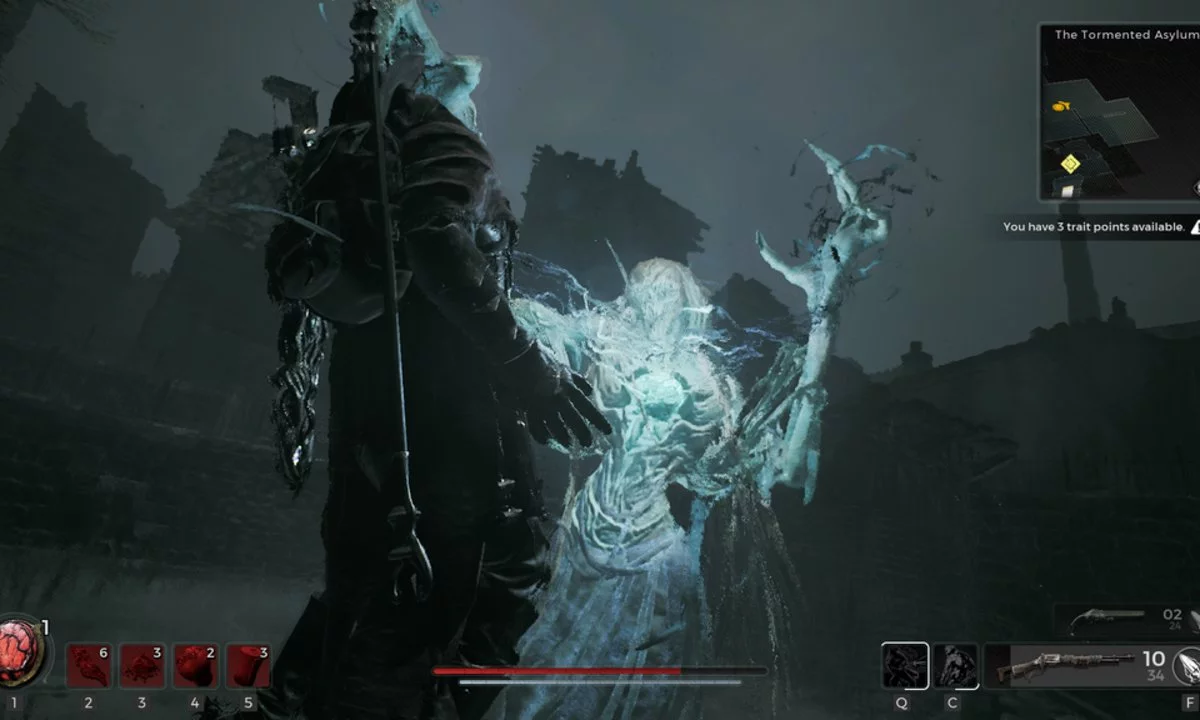
Stay within the lobby where you initially spawned. Keep your distance from the walls to optimize your positioning.
Her second phase introduces new attacks:
1. A 2-hit combo with extended range.
2. Teleportation within walls and floor, providing an opportunity for counterattacks.
3. Summoning spiders while suspended from the ceiling—strike her before the spiders approach.
4. A grab attack with significant damage potential, particularly when she reaches around 50% health.
Embarking on “The One True King” Journey
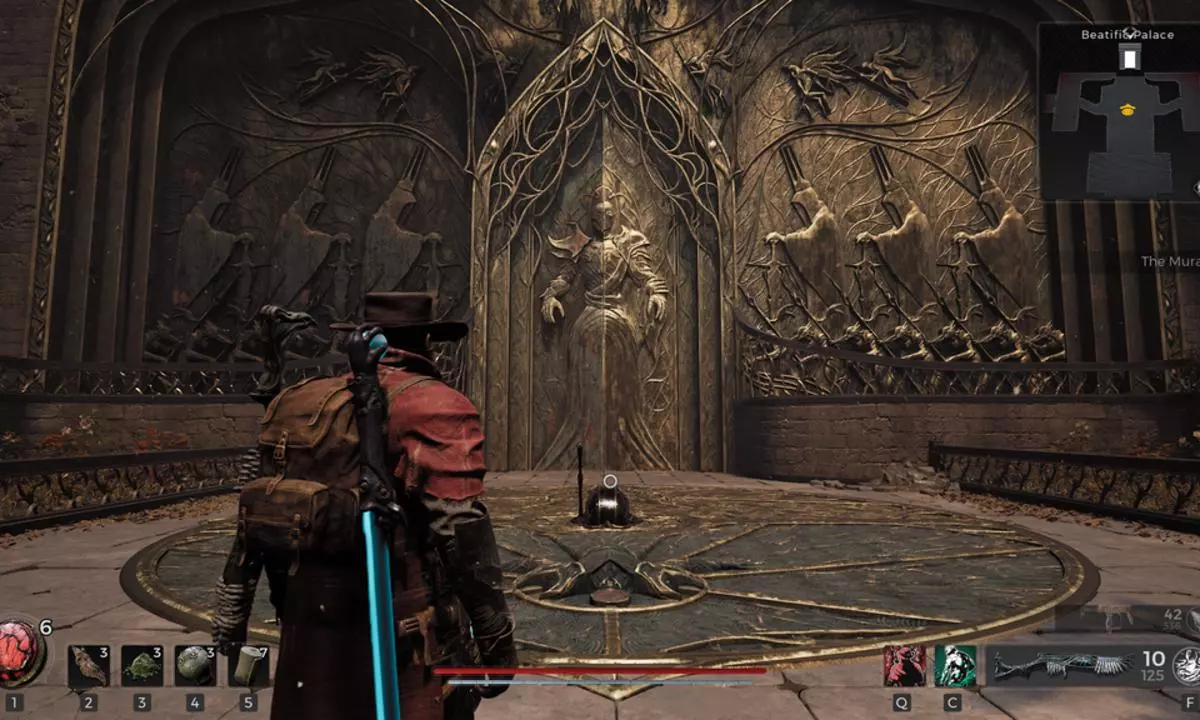
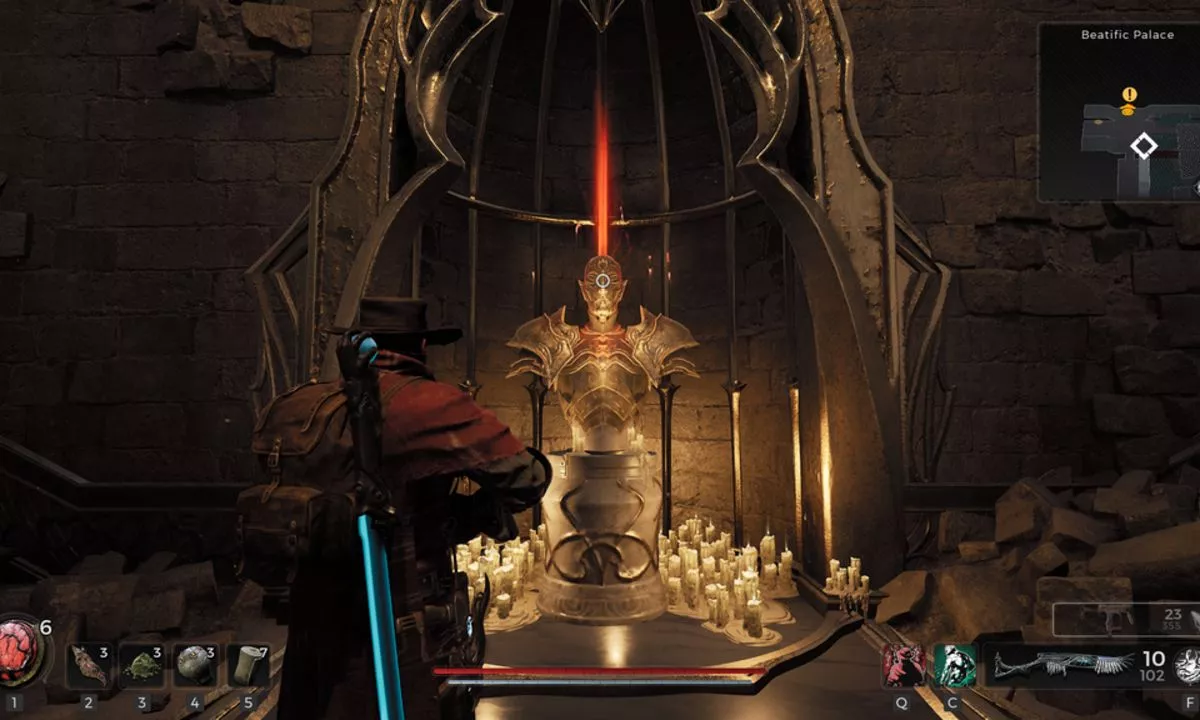
This narrative begins within the realm of the Fae, specifically in the Beatific Palace courtyard. Your main objective is straightforward: find the two missing mural pieces to unlock the grand door to the throne room.
The Faelin Mural Piece awaits you within the palace, guarded by numerous Fae enemies who might ambush you from various vantage points. Some Fae foes can afflict the Curse status, curable via a Purified Salve or the marked holy basin that also bolsters health regeneration.
Descend to the cavern beneath the palace to encounter Nimue. Defeating the final boss grants access to her previously inaccessible offerings.
Related: Remnant 2 Review – A Procedural Co-op Looter Shooter Adventure
Upon securing the first mural piece, venture to the palace’s basement to meet the Jester. After a short juggling act, he’ll provide you with the Magic Quill—a quest item essential for traversing unfinished painted doors scattered throughout the palace.
Explore the side dungeons at your leisure, then return to the central library room. Utilize the Magic Quill on the main dungeon door to enter Ironborough, the next overworld.
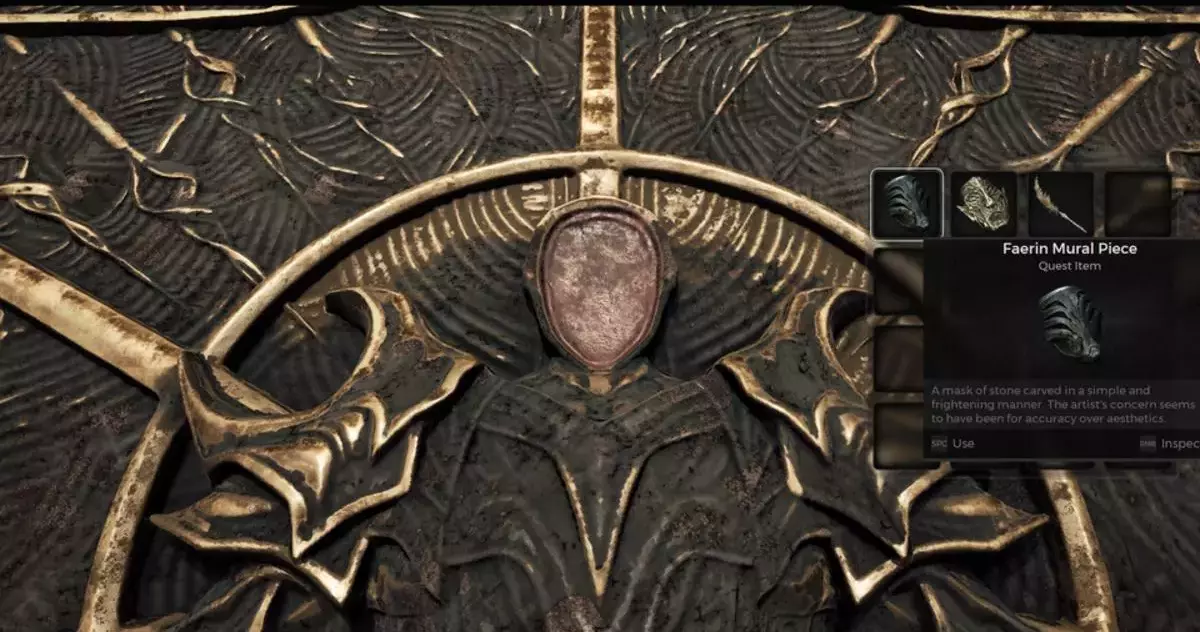
Ironborough holds an array of side dungeons and events, each randomized with every playthrough. The main dungeon entrance is positioned after the second overworld World Stone. Completing this dungeon grants you access to the Malefic Palace, where the Faerin Mural Piece resides, the second mask required for the main gate.

To solve the Jester’s card puzzle, focus on the position of the two-faced mask among five cards he presents. The correct door, represented by a glowing red light on a statue’s head, leads to the Faerin Mural Piece. Should you choose the wrong door, simply return to the Jester.
Armed with the Faelin and Faerin Mural Pieces, insert them near the gate at the Palace Courtyard World Stone to access the throne room. The middle lever facilitates movement between Beatific Palace and Malefic Palace.
Concluding this “One True King” tale involves confronting either Faelin or Faerin. Each boss offers unique rewards, ensuring a distinct outcome for your journey.
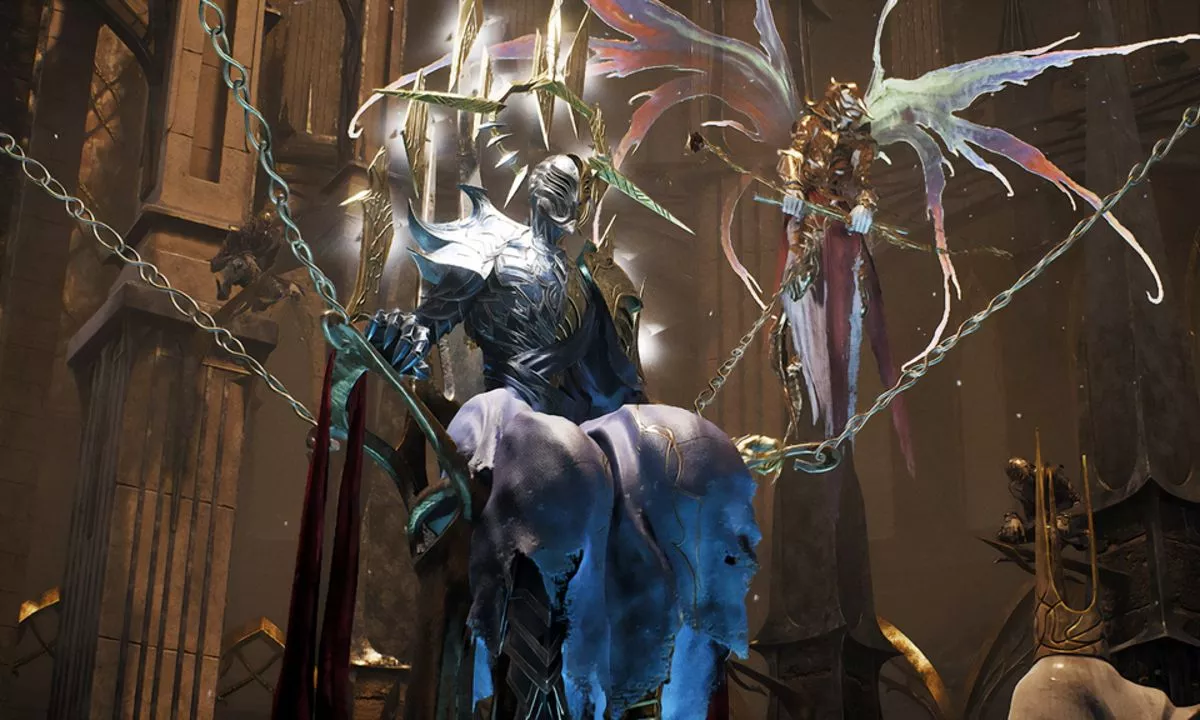
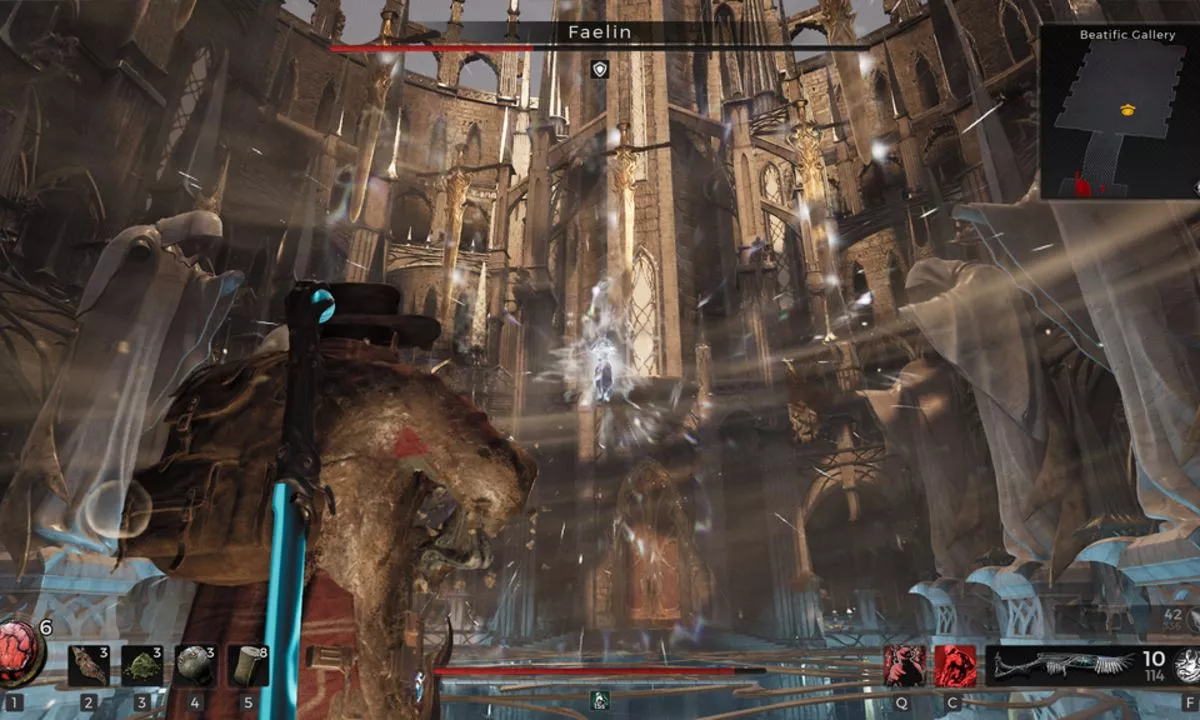
Conquering Faelin and Faerin
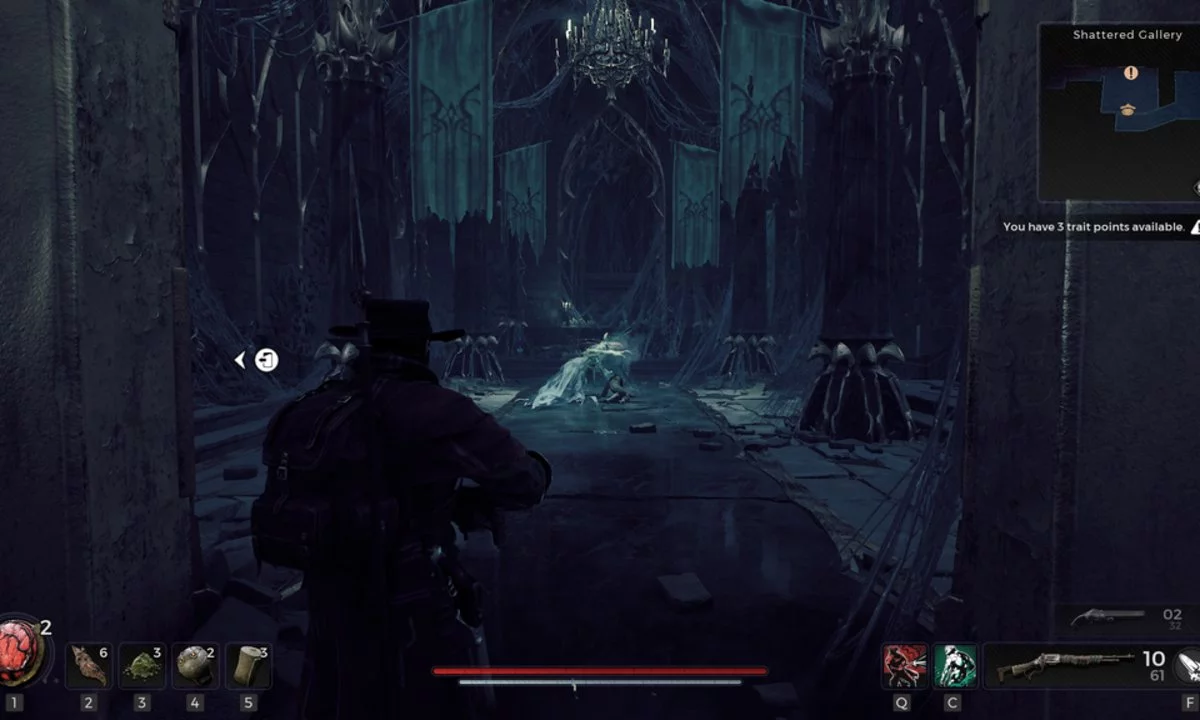
In the mystical realm of Losomn, a duo of formidable leaders takes the stage: Faelin and Faerin, the yin and yang of strategy and might. Their dance of tactics and combat is a symphony played out upon distinct stages, each woven with threads of aesthetics, arenas, and unique powers. The vulnerable area is Head.
Behold as these two titans unleash a cascade of both brutal and ethereal assaults. In the first act of their grand performance, expect the unveiling of two pivotal maneuvers:
1. Whirlwind Waltz: A flurry of three successive strikes that paint the air with menace. Skillfully evade the opening duet and elegantly sidestep the crescendo uppercut that follows.
2. Orb Waltz: An entrancing display of ranged prowess, where orbs of energy take the stage. Brandish your automatic instruments of destruction to masterfully juggle these otherworldly spheres, each endowed with its own life force.
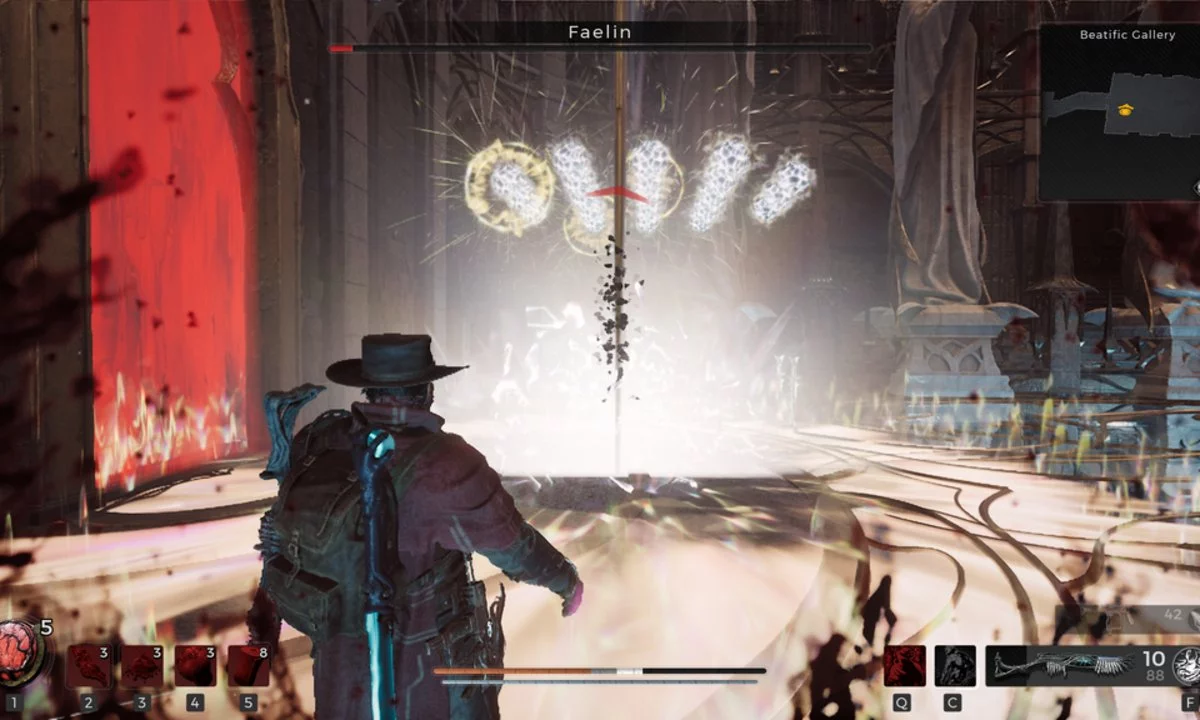
When the curtain of health is halved, a dramatic twist occurs. Colossal swords are drawn from the stone guardians flanking them, adding a thunderous resonance to their choreography. To navigate this dramatic shift:
Aerial Symphony: Eyes skyward! Anticipate the graceful arcs of these monumental blades as they take flight during their cataclysmic slam sequence.
And do take heed, for their vulnerability wanes not while wielding these gargantuan weapons.
As the melodies of battle reach their crescendo, the scales tip to a precarious balance of 25% health. The duo wields a perilous sword impalement and conjures an AOE spell, an arcane ballet involving the enigmatic orbs. Strike them at the moment of their return from casting this incantation. Here, tread cautiously, for a newly unveiled grip awaits, promising devastation of profound proportions.
A Harvest of Riches
The spoils of this duel are twofold, woven intricately into your chosen path:
Faelin’s Enigma: A heart veiled in duplicity, and Faerin’s mark as testament (Bestowed by Faelin)
Faerin’s Fusion: A hilt forged from melded destinies, and Faelin’s seal as tribute (Gifted by Faerin)
Embark upon a journey through Losomn’s enigmatic tapestries, a realm where tales unravel, challenges dare, and treasures of untold wonder lie in wait, for those bold enough to dance within its intricate embrace. Read Latest Games News & Updates Click here.