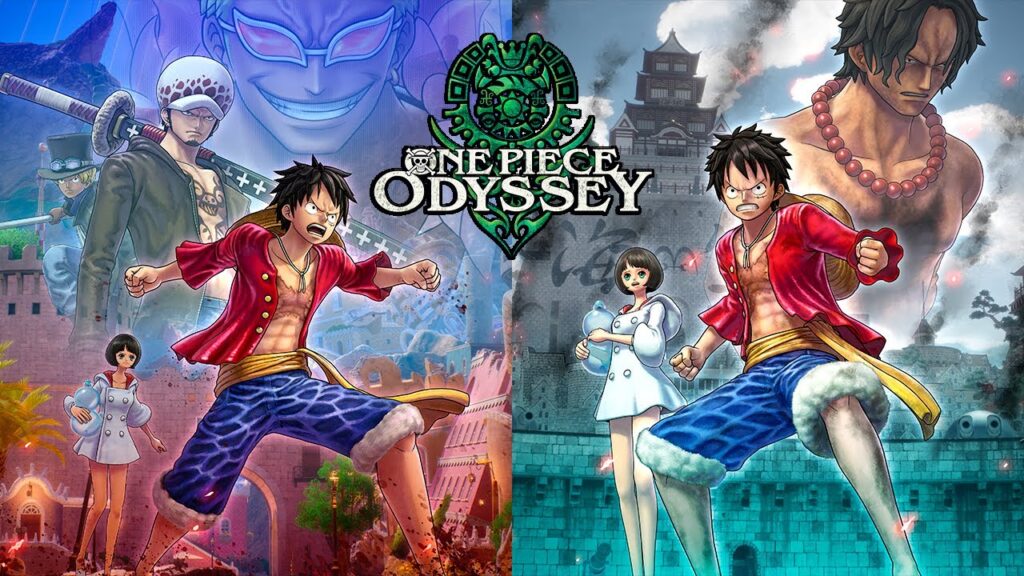
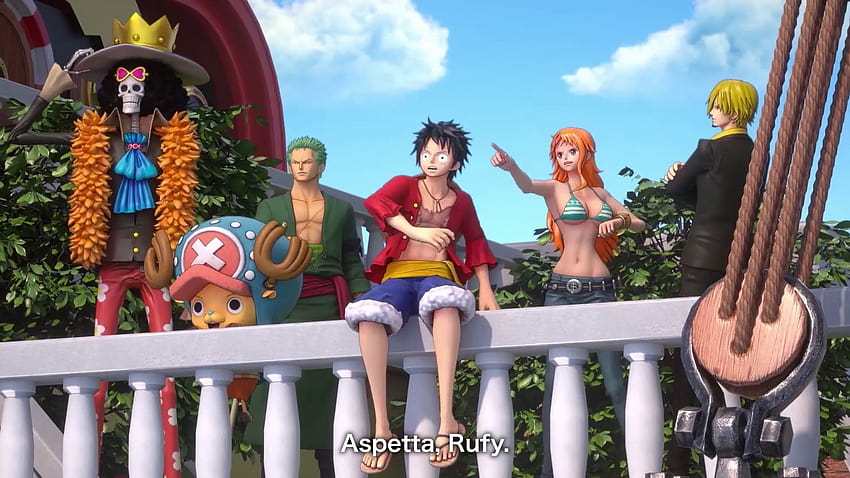
One Piece Odyssey is an RPG game that takes the popular manga series to a larger scope. With its extensive list of main and side missions, it offers players an exciting adventure that explores the mysterious island of Waford alongside the Straw Hat Pirates.
The Best One Piece Odyssey Berry Farming Spots for Extra Loot!
Ahoy there, me hearty! Are ye in need of some extra loot to fill yer treasure chest in One Piece Odyssey? Look no further, for we’ve scoured the seas to bring ye the best One Piece Odyssey Berry farming spots that we currently know of!
As any true pirate knows, Berries are the lifeblood of One Piece Odyssey. With the most epic gear and weapons costing a pretty penny, it’s crucial to have a healthy stash of these coins. While exploring the vast world of Odyssey can provide ample opportunities to gather Berries, sometimes a bit of extra effort is required. And that’s where these farming spots come in handy.
First up, we have the New Royal Plateau in Dressrosa. This island is chock-full of mobs that give out a generous amount of Berries per encounter, with some providing upwards of 75,000 Berries! The key to success here is utilizing your Power attacks and AoE abilities, as the mobs tend to cluster together. Luffy’s Conqueror’s Haki and Gum-Gum King Kong Gun are excellent options for taking them down quickly. To speed things up, equip yourself with accessories that increase TP Regen or Cost Reduction.
RELATED: One Piece Odyssey Review : Sail the Grand Line with Style
For the more experienced pirates out there, the Sky Tower in Waford is also a top-tier farming location. The mobs here are tougher and trickier to approach, but the rewards are even greater. You can earn over 250,000 Berries per encounter if you can defeat them efficiently. However, keep in mind that speed is also a factor, as the faster you can clear the mobs, the more Berries you can gather.
And that’s it, me hearties! With these farming spots, you’ll be raking in the Berries in no time.
Uncovering the Mystical One Piece Odyssey Memory Link Locations: A Guide to Unlocking Powerful Bond Arts
Ahoy there, fellow pirates! Are you in search of the elusive One Piece Odyssey Memory Link locations? Well, shiver me timbers, you’ve come to the right place! Allow me to guide you through the treacherous waters of Alabasta and reveal the secrets of Hysteria – a distorted space within Memoria.
But beware, mateys! Only a select few of the Straw Hat crew are deemed worthy enough to venture into Hysteria and fix the Frayed Memories. And why, you ask? Well, because it fosters deeper bonds between the crew members and unlocks a powerful attack known as a Bond Art. Arrr, it’s a force to be reckoned with! Not only does it pack a punch, but it can also inflict various conditions on our enemies.
But wait, there’s more! Each character in One Piece Odyssey acquires a Bond Move, which allows them to transfer zones without having to exchange with another member. It’s a game-changer, me hearties! So, don’t be a landlubber and start your hunt for these locations.
Are ye ready to embark on a journey to uncover all 14 mystical One Piece Odyssey Memory Link locations? These hidden gems hold the key to unlocking powerful Bond Arts, but beware, for the road ahead is treacherous.
Our voyage begins in the Great Sandy Desert of Alabasta, where a Frayed Memory known as ‘A Boy’s Desire’ steals away Usopp, leaving only Chopper and Zoro to accompany you on your quest. As we travel through the western part of the ruins, this Hysteria mission cannot be missed and will trigger automatically.
Further along our path, we come across two parts of the second Memory Link, ‘An Evil Deed,’ in the South Alley of Nanohana. The trio of Luffy, Usopp, and Zoro are taken into the Frayed Memory, and once completed, helping Otogin with Anikin yields the Gum-Gum Dragon Fire Pistol Twister Star Bond Art.
In the City Area of Water Seven, two more two-part Frayed Memories await. ‘A Friendly Chase’ can be picked up from the Canal Restaurant, and the second in the Water Seven Lower Coast. Here, Luffy, Nami, and Sanji run into Bon Clay and agree to help him escape the Navy. However, Tashigi and Smoker stand in their way. Restoring this memory grants the Gum-Gum Mouton Gattling Tempo Bond Art.
Moving on, we find the second duo of Memory Links, ‘Force of Happiness,’ in the Elevator – Top Floor section, and the Sewer – Sewer 1F section upstairs from the Yoisa Travel point. Nami, Robin, Sanji, and Zoro must help Emily find her lost love, Garf. The Thunder Lance Flip Caliber Phoenix Shot Bond Art is obtained by restoring this memory.
After completing Chapter 6, two more two-part Frayed Memories appear in Marineford and Alabasta. In Marineford, Chopper, Luffy, and Robin must protect Secret Agent Eliza from the Navy in the South Town area of the Main City, and then again in the North Town area. Clearing this memory unlocks Gum-Gum Cuatro Jet Cross Shock Bazooka. In Alabasta, Brook, Chopper, and Sanji aid a Desert Banana Gator with a human friend in need, yielding the Cloven Flambage Diamond Party Shot Bond Art.
Finally, we arrive in Dressrosa to uncover the penultimate Frayed Memory, ‘Toy Chivalry,’ where Chopper, Franky, and Usopp must deal with Sugar of the Donquixote Family. Clearing this memory unlocks the Cloven Radical Skull Roseo Metel Blast Beam Bond Art. And for the grand finale, Brook, Franky, and Nami must return a violin to its owner in ‘Violin of Memories.’ This memory can be found in the Dressrosa City Area – Square, At Fountain and yields the Soul Franky Swing Arm Boxing Solid Bond Art.
So hoist the sails and let us set sail on this epic adventure, where memories and bonds await us at every turn!
Master the One Piece Odyssey Bond Arts: A Comprehensive Guide to Devastating Abilities
Ahoy there, mateys! If you’re ready to set sail on a swashbuckling adventure through the world of One Piece Odyssey, then you’d better be prepared to wield the power of the Bond Arts!
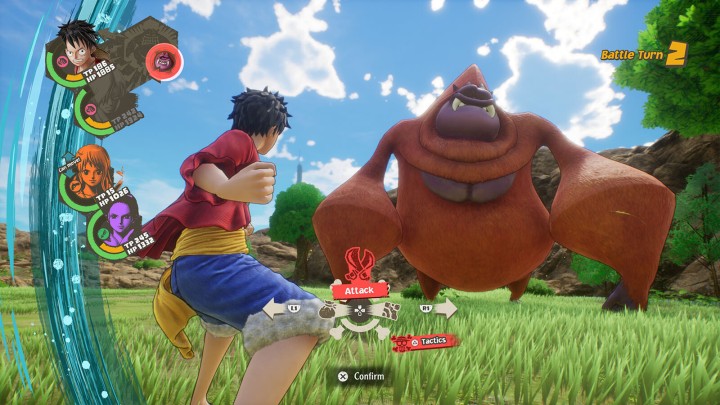
These powerful abilities are more than just your typical RPG attacks – they’re devastating maneuvers that can turn the tide of any battle. And with their ability to inflict various status effects on your enemies, they can be a game-changer in your quest to emerge victorious.
To unlock these Bond Arts, you’ll need to forge deep bonds between the One Piece Odyssey characters. And what better way to do so than by exploring the Memory Link locations and uncovering their secrets? With each memory you fix, you’ll bring the characters closer together, and unlock even more Bond Arts to add to your arsenal.
ALSO READ: Dwarf Fortress: A Complete Guide for a Thrilling Adventure
But mastering the Bond Arts is no easy feat. Each ability has its own unique charge cost, target type, and special effect. From dealing massive damage to healing allies or inflicting debilitating status conditions, each Bond Art has its own strengths and weaknesses. And with each character having access to a unique Bond Move, you’ll need to strategize carefully to stay one step ahead of your opponents.
But fear not, fellow adventurers! We’ve got you covered with our comprehensive guide to the One Piece Odyssey Bond Arts. With detailed descriptions of each Bond Art, including which characters can use them and their associated costs and effects, you’ll be well on your way to becoming a true Bond Art master.
So prepare to hoist the sails, and embark on a grand adventure through the world of One Piece Odyssey. With your mastery of the Bond Arts, you’ll be sure to leave a trail of defeated foes in your wake!
If you’re playing the JRPG adaptation of the beloved One Piece manga series and looking to turn the tide of battle in your favor, you should look no further than the One Piece Odyssey Bond Arts. These powerful abilities are unlocked by clearing the Memory Link encounters and can deal massive damage while inflicting various status effects on your opponents.
It’s important to understand the ins and outs of each Bond Art, such as the Bond Charge Cost, Attack Target type, and ATK Range, to use them effectively in combat. Additionally, each character can use specific Bond Arts, so you’ll need to plan your strategy accordingly and consider which characters are available during each mission.
Let’s take a closer look at each Bond Art and its associated effects:
Cloven Tiger Trap Roseo Pound: This Bond Art can be used by Chopper, Usopp, and Zoro at a Bond Charge Cost of Level 3. It targets a single unit with a long ATK Range and inflicts the “Slow” and “Bleed” status effects on the target.
Gum-Gum Dragon Fire Pistol Twister Star: Luffy, Usopp, and Zoro can use this Bond Art at a Bond Charge Cost of Level 6. It targets all opponents with an all-range ATK and deals heavy damage to Logia Devil Fruit users.
Gum-Gum Mouton Gattling Tempo: Luffy, Nami, and Zoro can use this Bond Art at a Bond Charge Cost of Level 6. It targets all opponents with an all-range ATK and deals heavy damage to all types of Devil Fruit users.
Thunder Lance Fliper Caliber Phoenix Shot: Nami, Robin, Sanji, and Zoro can use this Bond Art at a Bond Charge Cost of Level 8. It targets all opponents with an all-range ATK and heavily damages Zoan Devil Fruit users.
Gum-Gum Cuatro Jet Cross Shock Bazooka: Chopper, Luffy, and Robin can use this Bond Art at a Bond Charge Cost of Level 3. It targets a single unit with a long ATK Range and inflicts the “Slow” and “Faint” status effects on the target.
Cloven Flambage Diamond Party Shot: Brook, Chopper, and Sanji can use this Bond Art at a Bond Charge Cost of Level 3. It targets a single unit with a long ATK Range and inflicts the “Slow” and “Sleep” status effects on the target.
Soul Franky Swing Arm Boxing Solid: Brook, Franky, and Nami can use this Bond Art at a Bond Charge Cost of Level 3. It targets a single unit with a long ATK Range and inflicts the “Slow” and “Freeze” status effects on the target.
Cloven Radical Skull Roseo Metel Blast Beam Bond Art: Chopper, Franky, and Usopp can use this Bond Art at a Bond Charge Cost of Level 6. It targets all opponents with an all-range ATK and heavily damages Paramythia Devil Fruit users.
By understanding each Bond Art and its associated effects, you can create a powerful strategy to defeat your opponents and emerge victorious in One Piece Odyssey. And if you’re looking for more tips and tricks, be sure to check out the game’s length and walkthrough for a comprehensive guide to this exciting JRPG adaptation.
One Piece Odyssey Missions List – Main Quests and Objectives
The game consists of nine chapters in the main story, each with its own objectives to complete. Here is a list of the main quests for each chapter:
Chapter 1: Island of Storms
- Mysterious Island Exploration
- Retrieving Lost Strength
- Explore the Thunderhead Ruins.
- Regain Strength
Chapter 2: Memories of the Desert Kingdom, Alabasta
- Defeat Crocodile
- Head to Rainbase
- Find Crocodile
- Head to capital city Alubarna
- Stop Crocodile’s plans
- Get Vivi back
- Stop the Bombardment
- Defeat Crocodile
- Meet Up With Your Friends
- Board Merry
- Return to the Strange Place
Chapter 3: The Wind Colossus and Dust Ruins
- Challenge the Dust Ruins
- Cross the Quicksand
- Challenge the Dust Runs
- Defeat the Colossus
- To the Next Adventure
Chapter 4: Exploring Water Seven, City on the Sea
- Explore Water Seven
- Defeat Rob Lucci
- Save Luffy and Robin
- Save the Kidnapped Usopp
ALSO READ: Forspoken Review : Rise of Forgotten Hero
- Get Franky and Usopp Back
- Escape Enies Lobby
- Go Back to Water Seven
- Join the Party
- Head to the Beach
Chapter 5: Water Colossus and Ice Block Ruins
- Go to the Inland Sea
- Return to Adio’s House
- Find Lim’s Crystal Ball
- Return to Adio’s House
- Investigate the Ruins
- Go On a New Adventure
- To the Next Adventure
Chapter 6: Paramount War: Battle of Marineford
- Survive the Paramount War 1
- Survive the Paramount War 2
- Survive the Paramount War 3
- Survive the Paramount War 4
- Survive the Paramount War 5
- To the Next Adventure
Chapter 7: Assemble! Straw Hat Pirates
- Find Sanji
- Make Some Cola
- Get Brook’s Body Back
- To the Next Adventure
Chapter 8: Kingdom in Conflict: Battle of Dressrosa
- Defeat Doflamingo
- Head to the New Royal Plateau
- Defeat Doflamingo
- Search the War Torn City
Final Chapter: What Those Hands Can Grasp
- Return to Waford
- Assess the Situation
- Go After Adio
- Challenge the Sky Tower
- Decipher the Strange Writing
- Go to Memoria
- Find a Clue to the Writing
- Go to Memoria
- Find a Clue to the Sheet Music
- Go to Adio
- Stop Adio
- Travel Preparations
One Piece Odyssey Bosses
Here are the major One Piece Odyssey bosses that players will encounter while exploring Waford and Memoria:
- Del Kong (King Kong Garden, Waford)
- Fire Colossus (Waford South Forest, Waford)
- Thunder Colossus (Thunderhead Ruins, Waford)
- Smoker and Tashigi (Desert Near Alubarna, Alabasta)
- Bon Clay (Alubarna, Alabasta)
- Crocodile (Alubarna Royal Mausoleum, Alabasta)
- Wind Colossus (Dust Ruins, Waford)
- Scrapper Franky (Sewer, Water Seven)
- Rob Lucci (Sewer, Water Seven)
- Kaku (Tower of Law, Water Seven)
- Rob Lucci, Jaguar Form (Tower of Law, Water Seven)
- Doeisa (King Kong Garden, Waford)
- Water Colossus (Ice Block Ruins, Waford)
- Smoker (Marineford)
- Kizaru (Marineford)
- Captain Tomack (Marineford)
- Kizaru and Aokiji (Marineford)
- Merchant Walrus (Waford South Beach, Waford)
- Fire Colossus (Waford South Beach, Waford)
- Burgess (Dressrosa City Area, Dressrosa)
- Hakuba (New Royal Plateau: Bottom, Dressrosa)
- Burgess (New Royal Plateau: Top, Dressrosa)
- Pica (New Royal Plateau: Top, Dressrosa)
- Doflamingo’s Clone (New Royal Plateau: Top, Dressrosa)
- Doflamingo (New Royal Plateau: Top, Dressrosa)
- Kaku and Lucci (Sky Tower, Waford)
- Crocodile and Doflamingo (Sky Tower, Waford)
- Akainu, Aokiji, and Kizaru (Sky Tower, Waford)
- Adio (Waford South Beach, Waford)
- Divine Breath (Waford South Beach, Waford)